

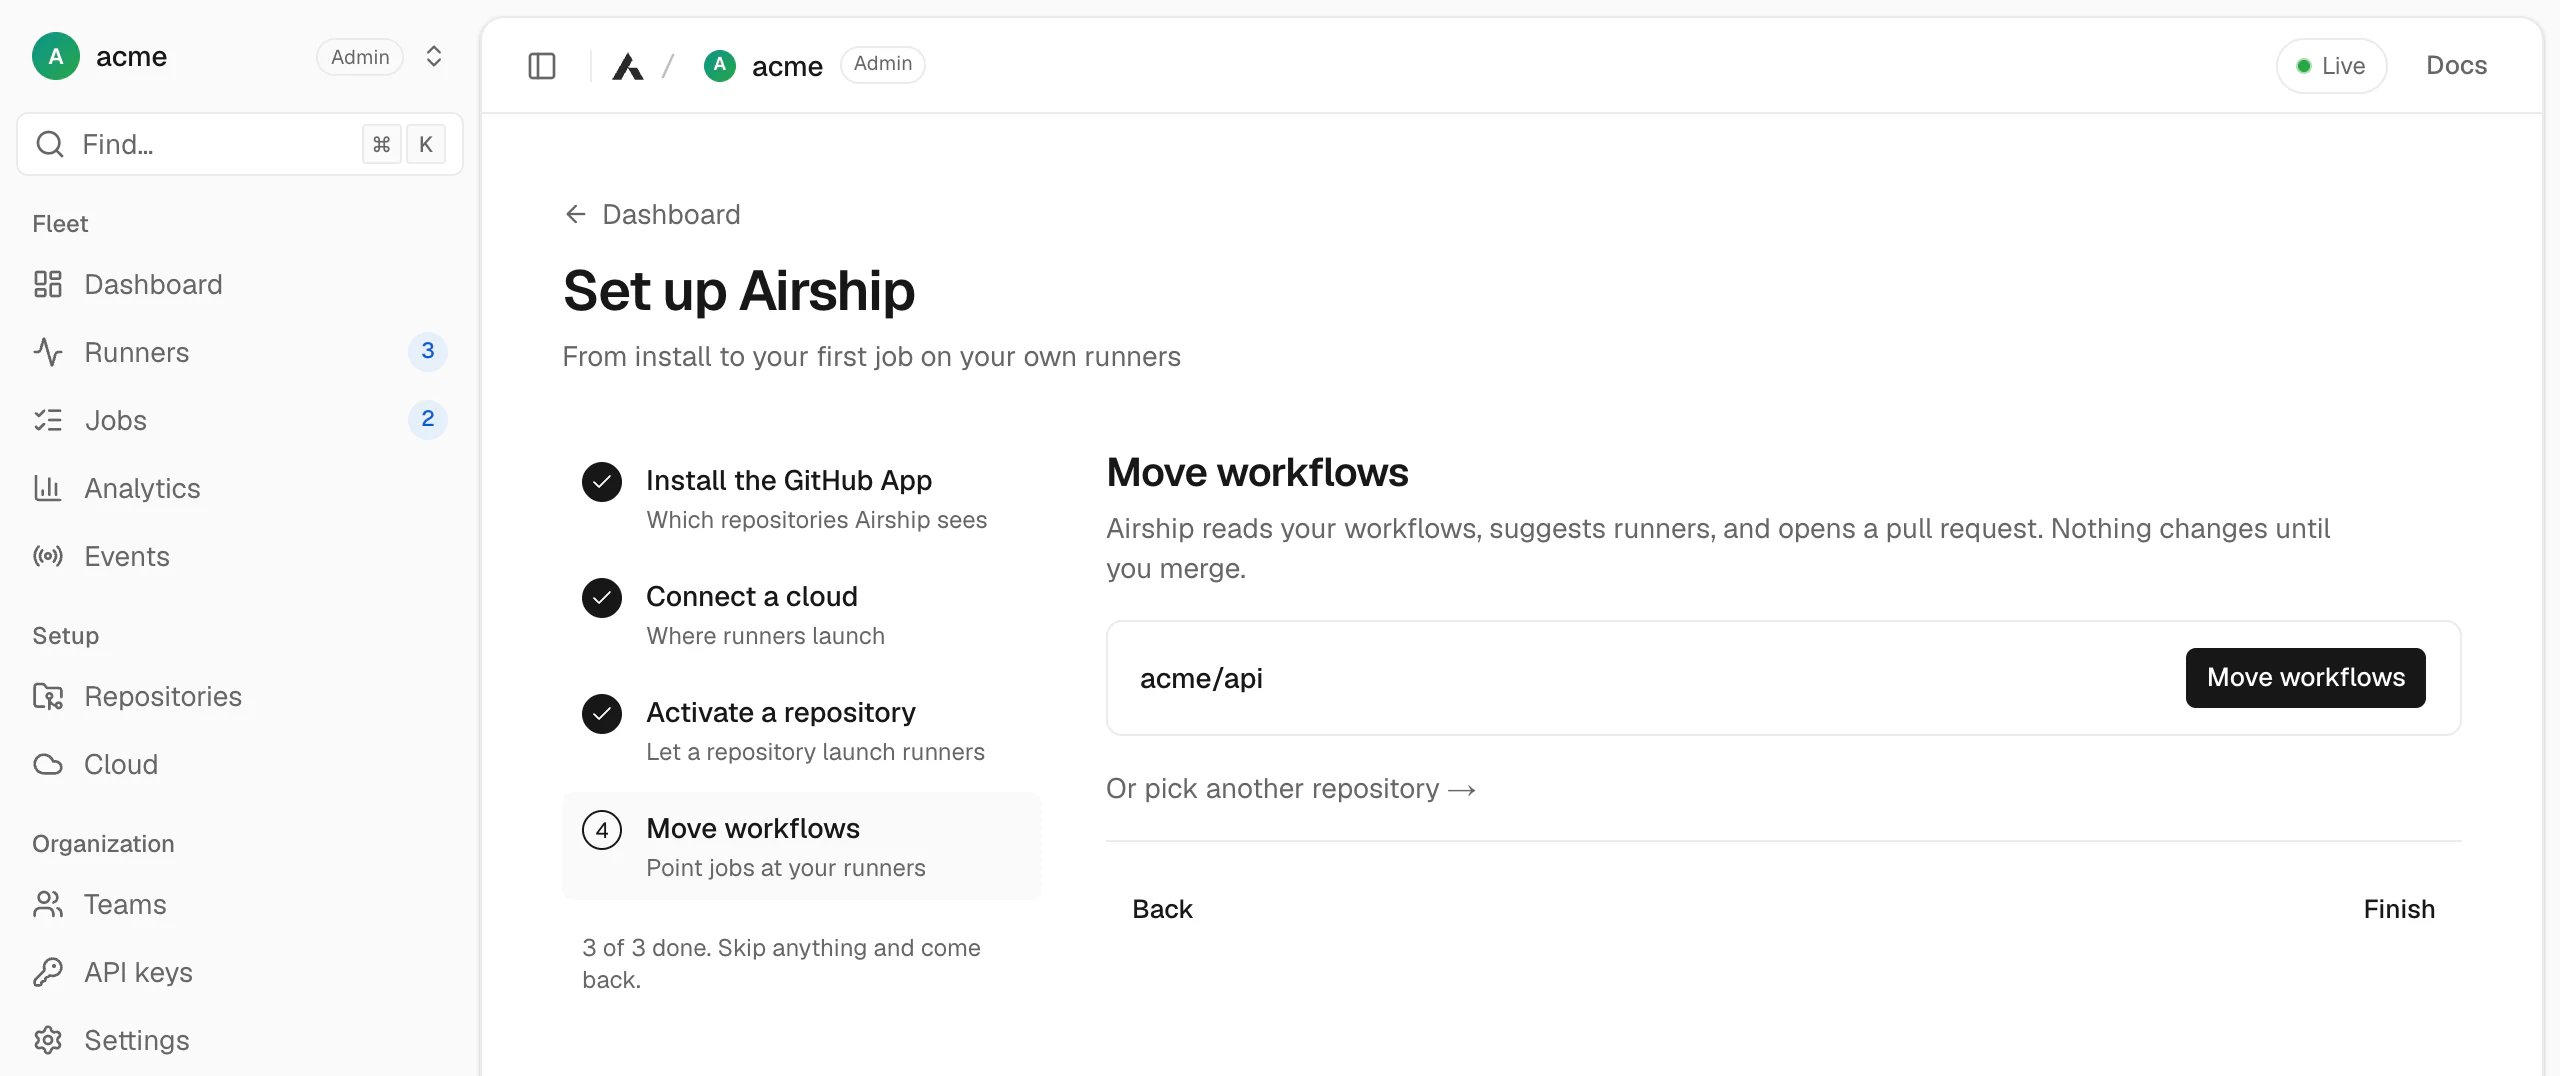
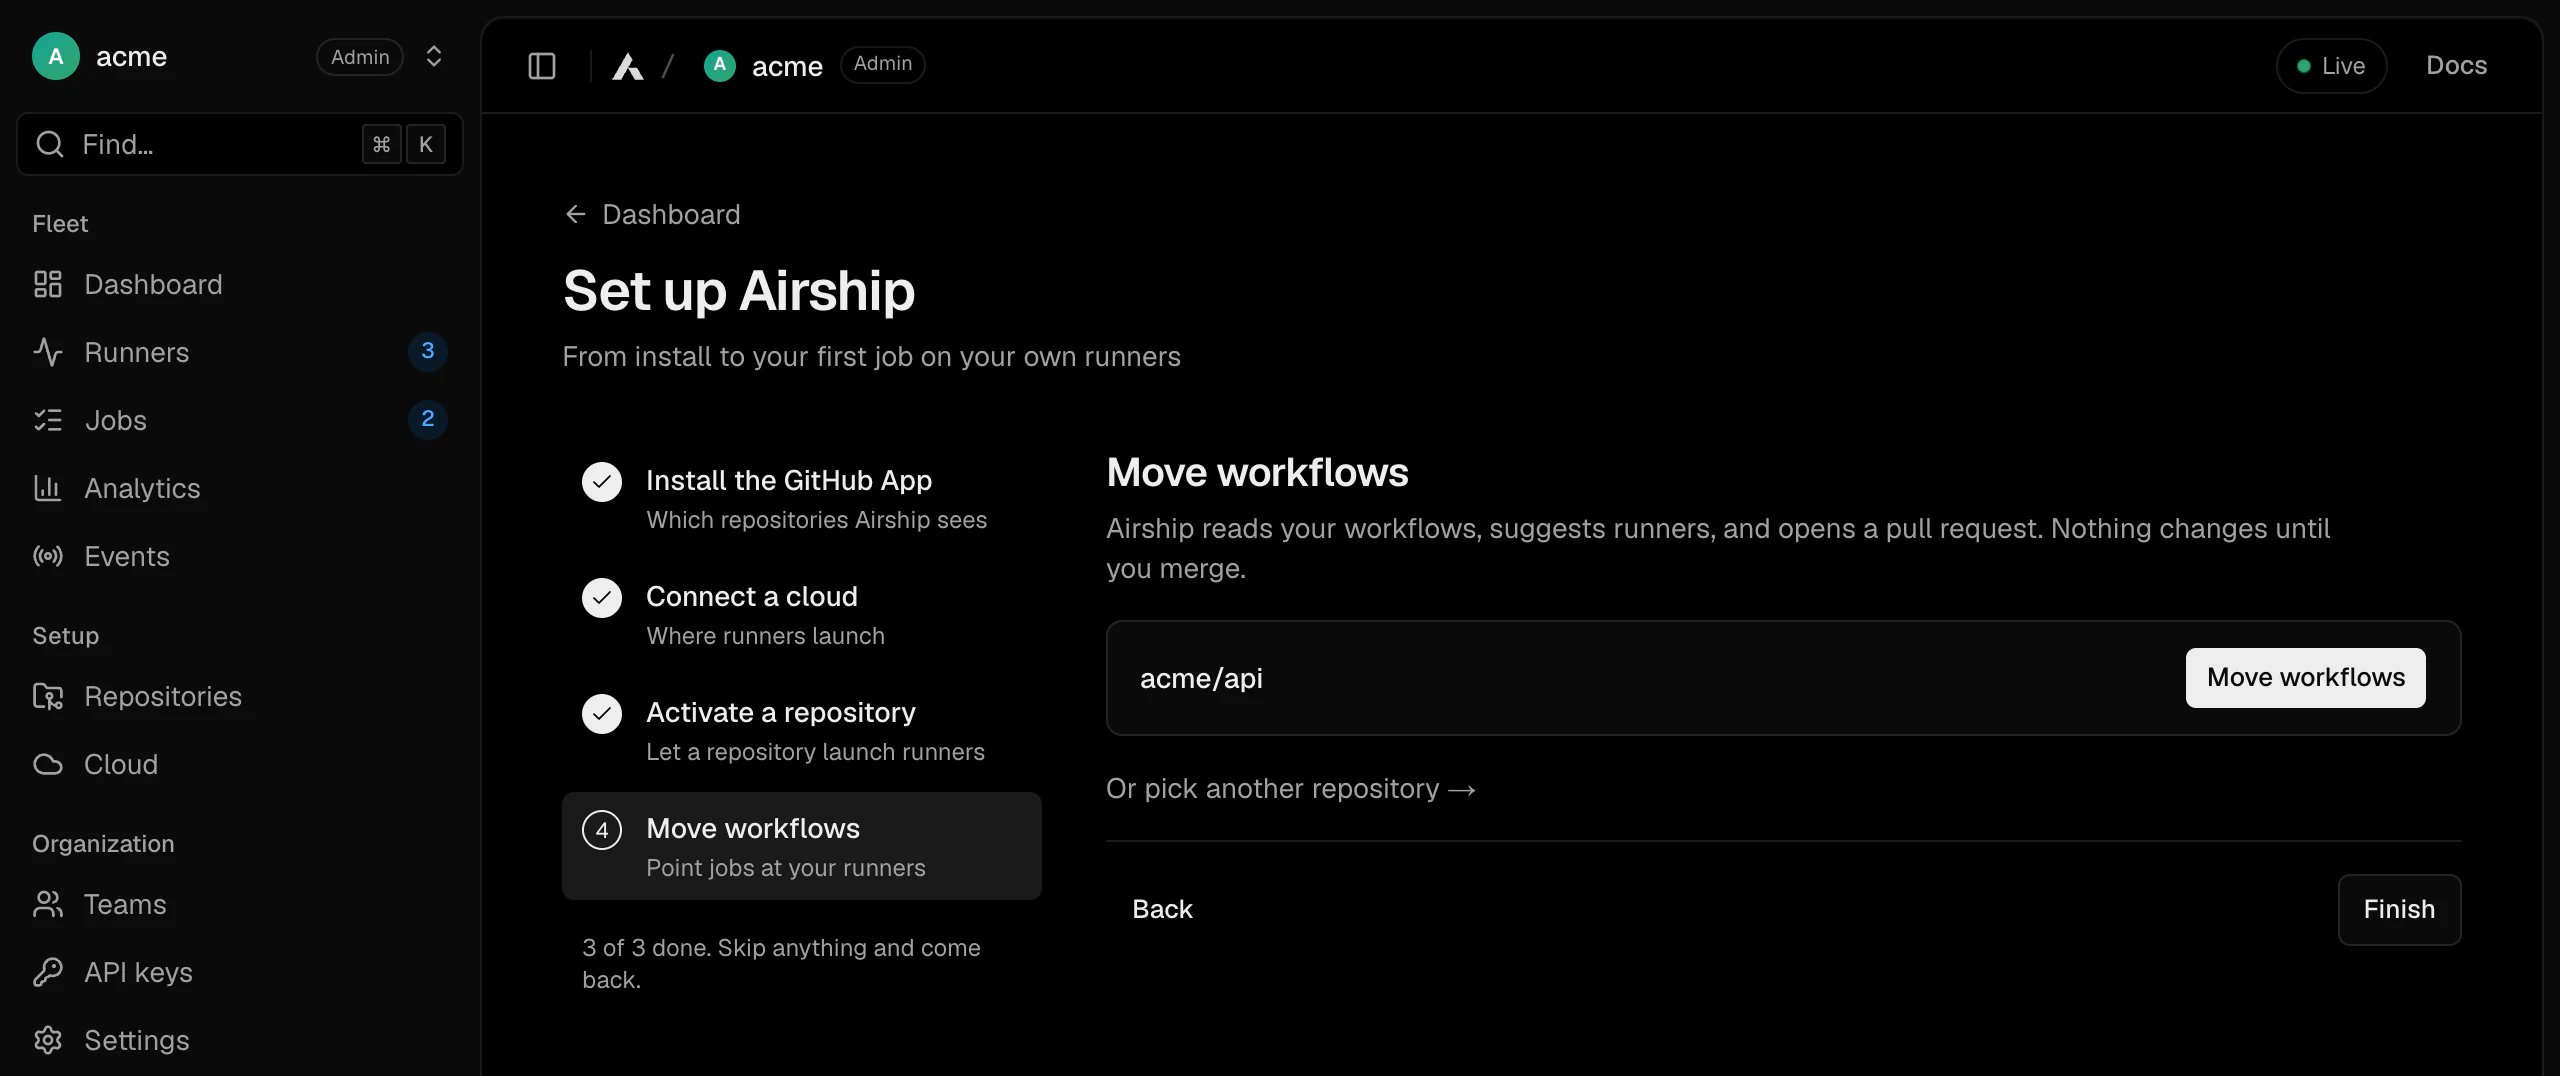
airship.yaml or edit runs-on by hand. Move
workflows reads a repository’s .github/workflows, suggests a runner for
each kind of machine your jobs use today, and shows the exact changes before
anything is written. Open it from Repositories → Move workflows, or from
the last step of Set up.
Nothing changes in the repository until you merge the pull request it opens.
Your choices are kept in the browser, so you can stop at any step and pick it
up later; every step can be skipped and revisited.
Only organization owners can move workflows: it shows the content of
repositories some members may not be able to read on GitHub.
1
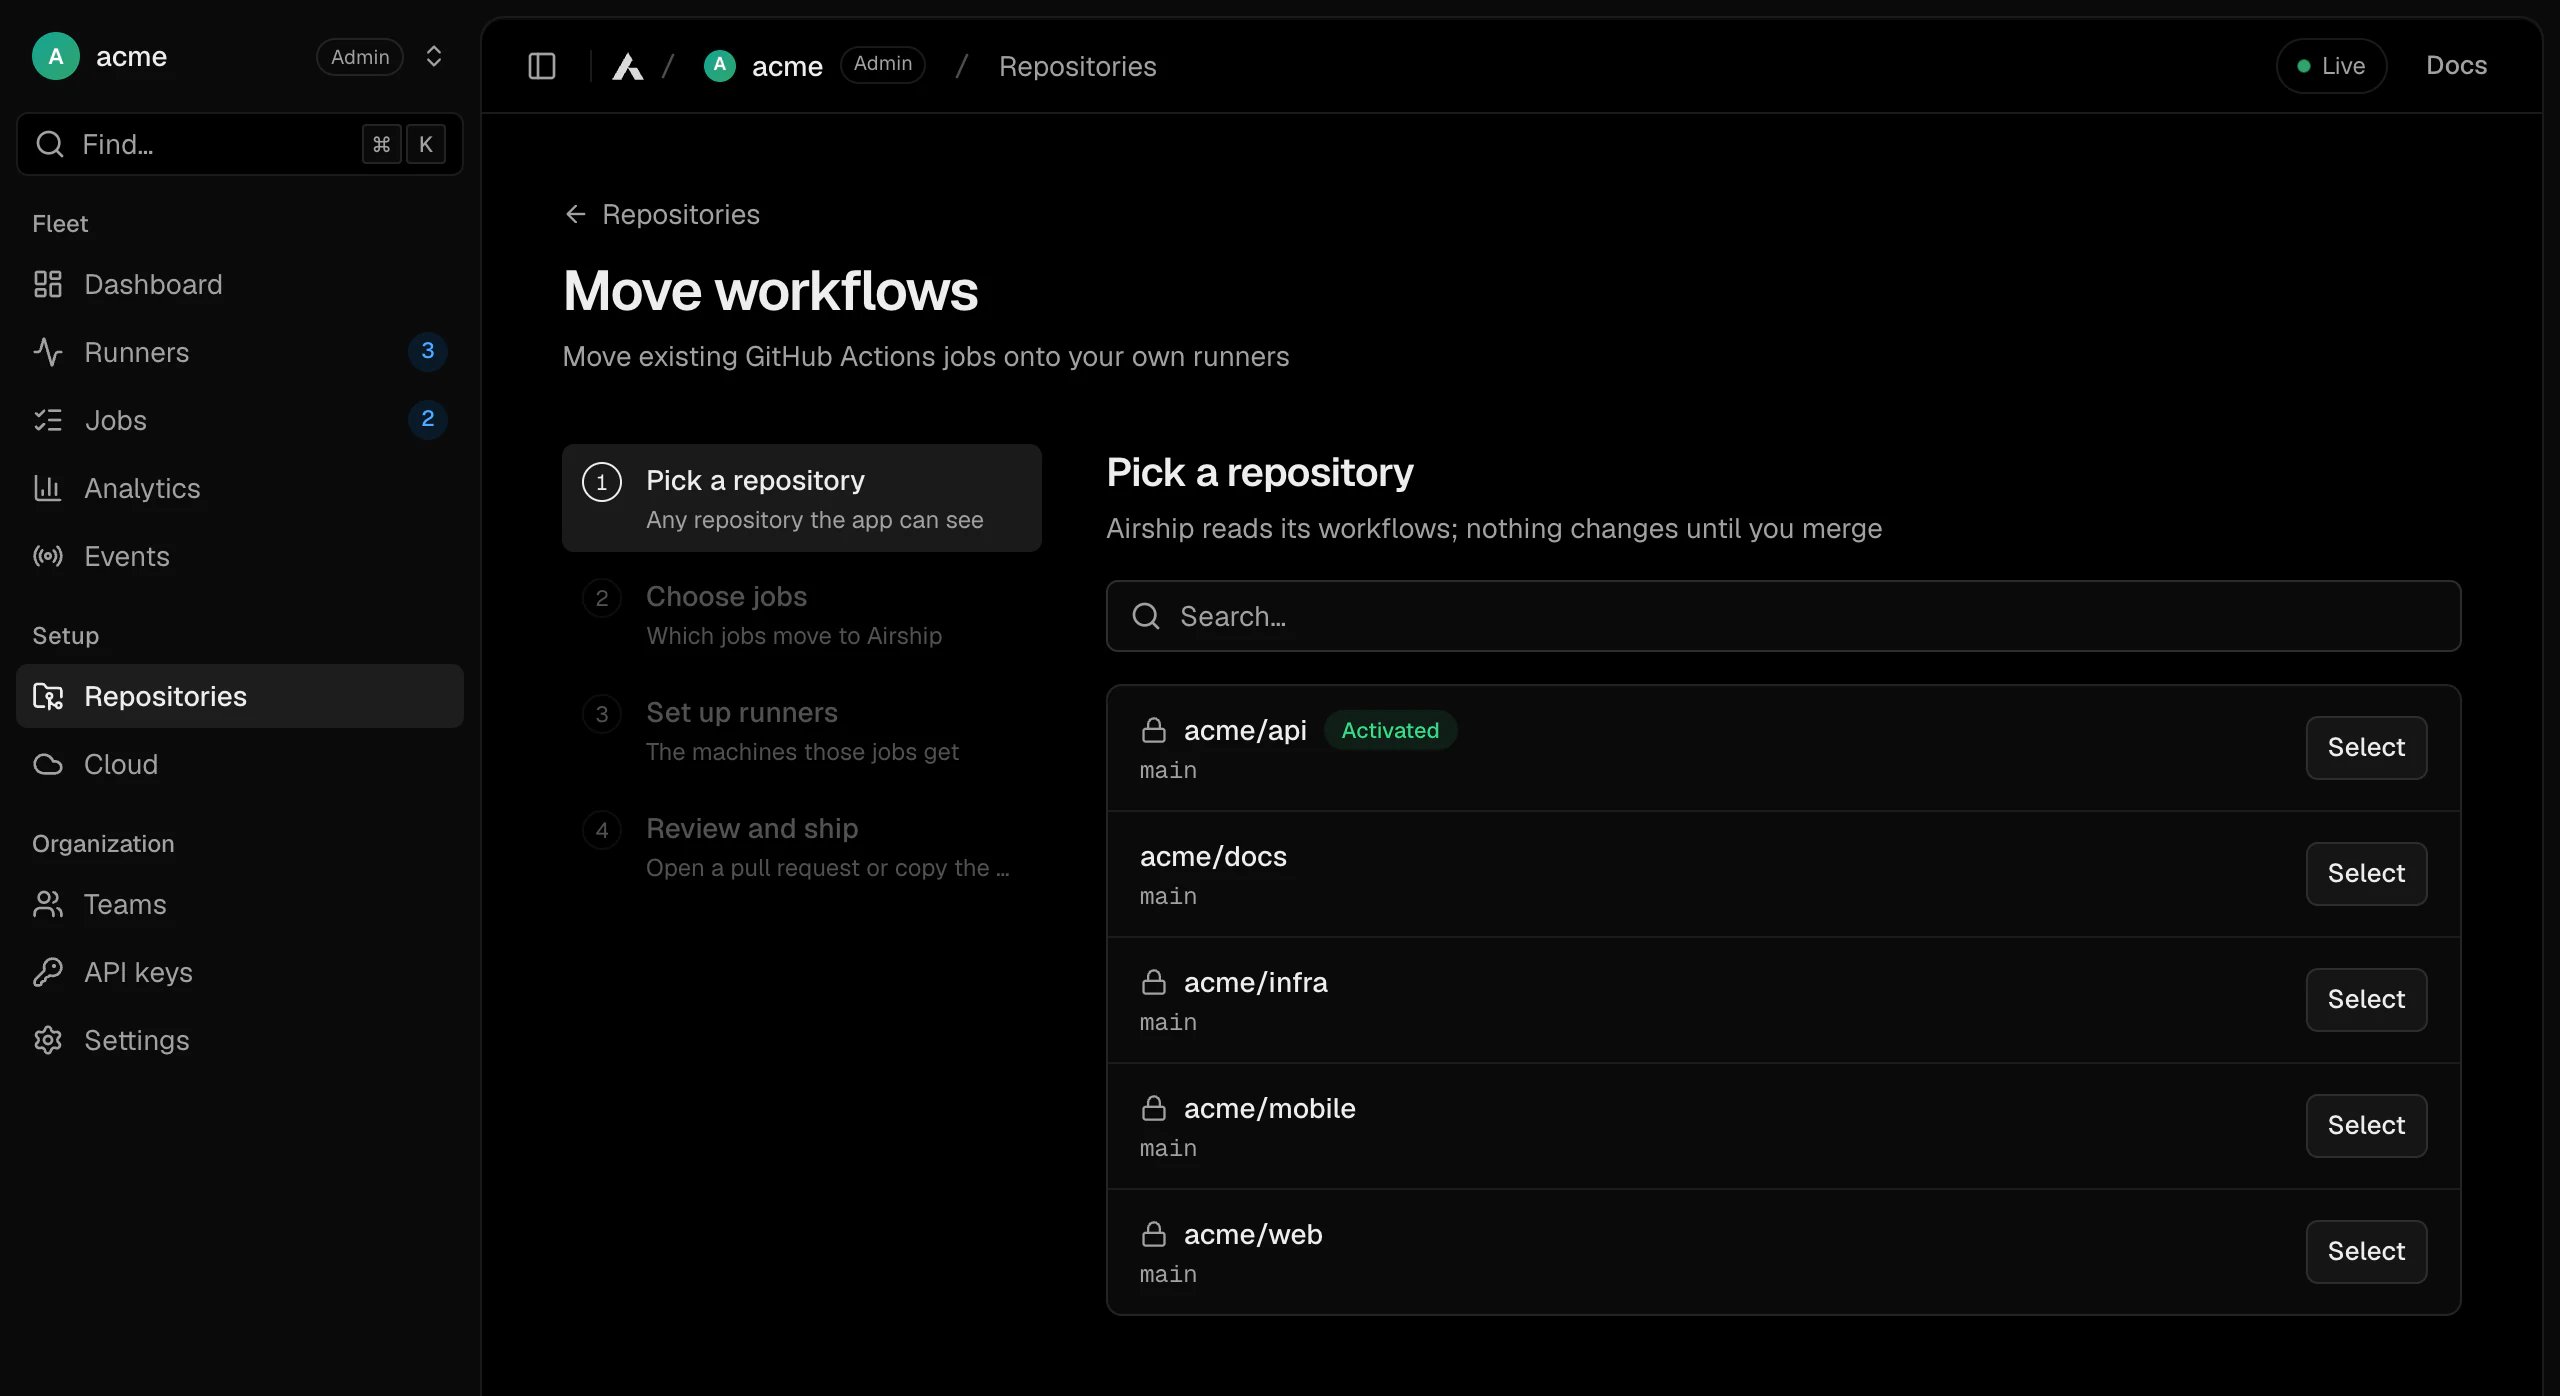
Pick a repository
Any repository the GitHub App can see, activated or not. Ones you have
started show Resume.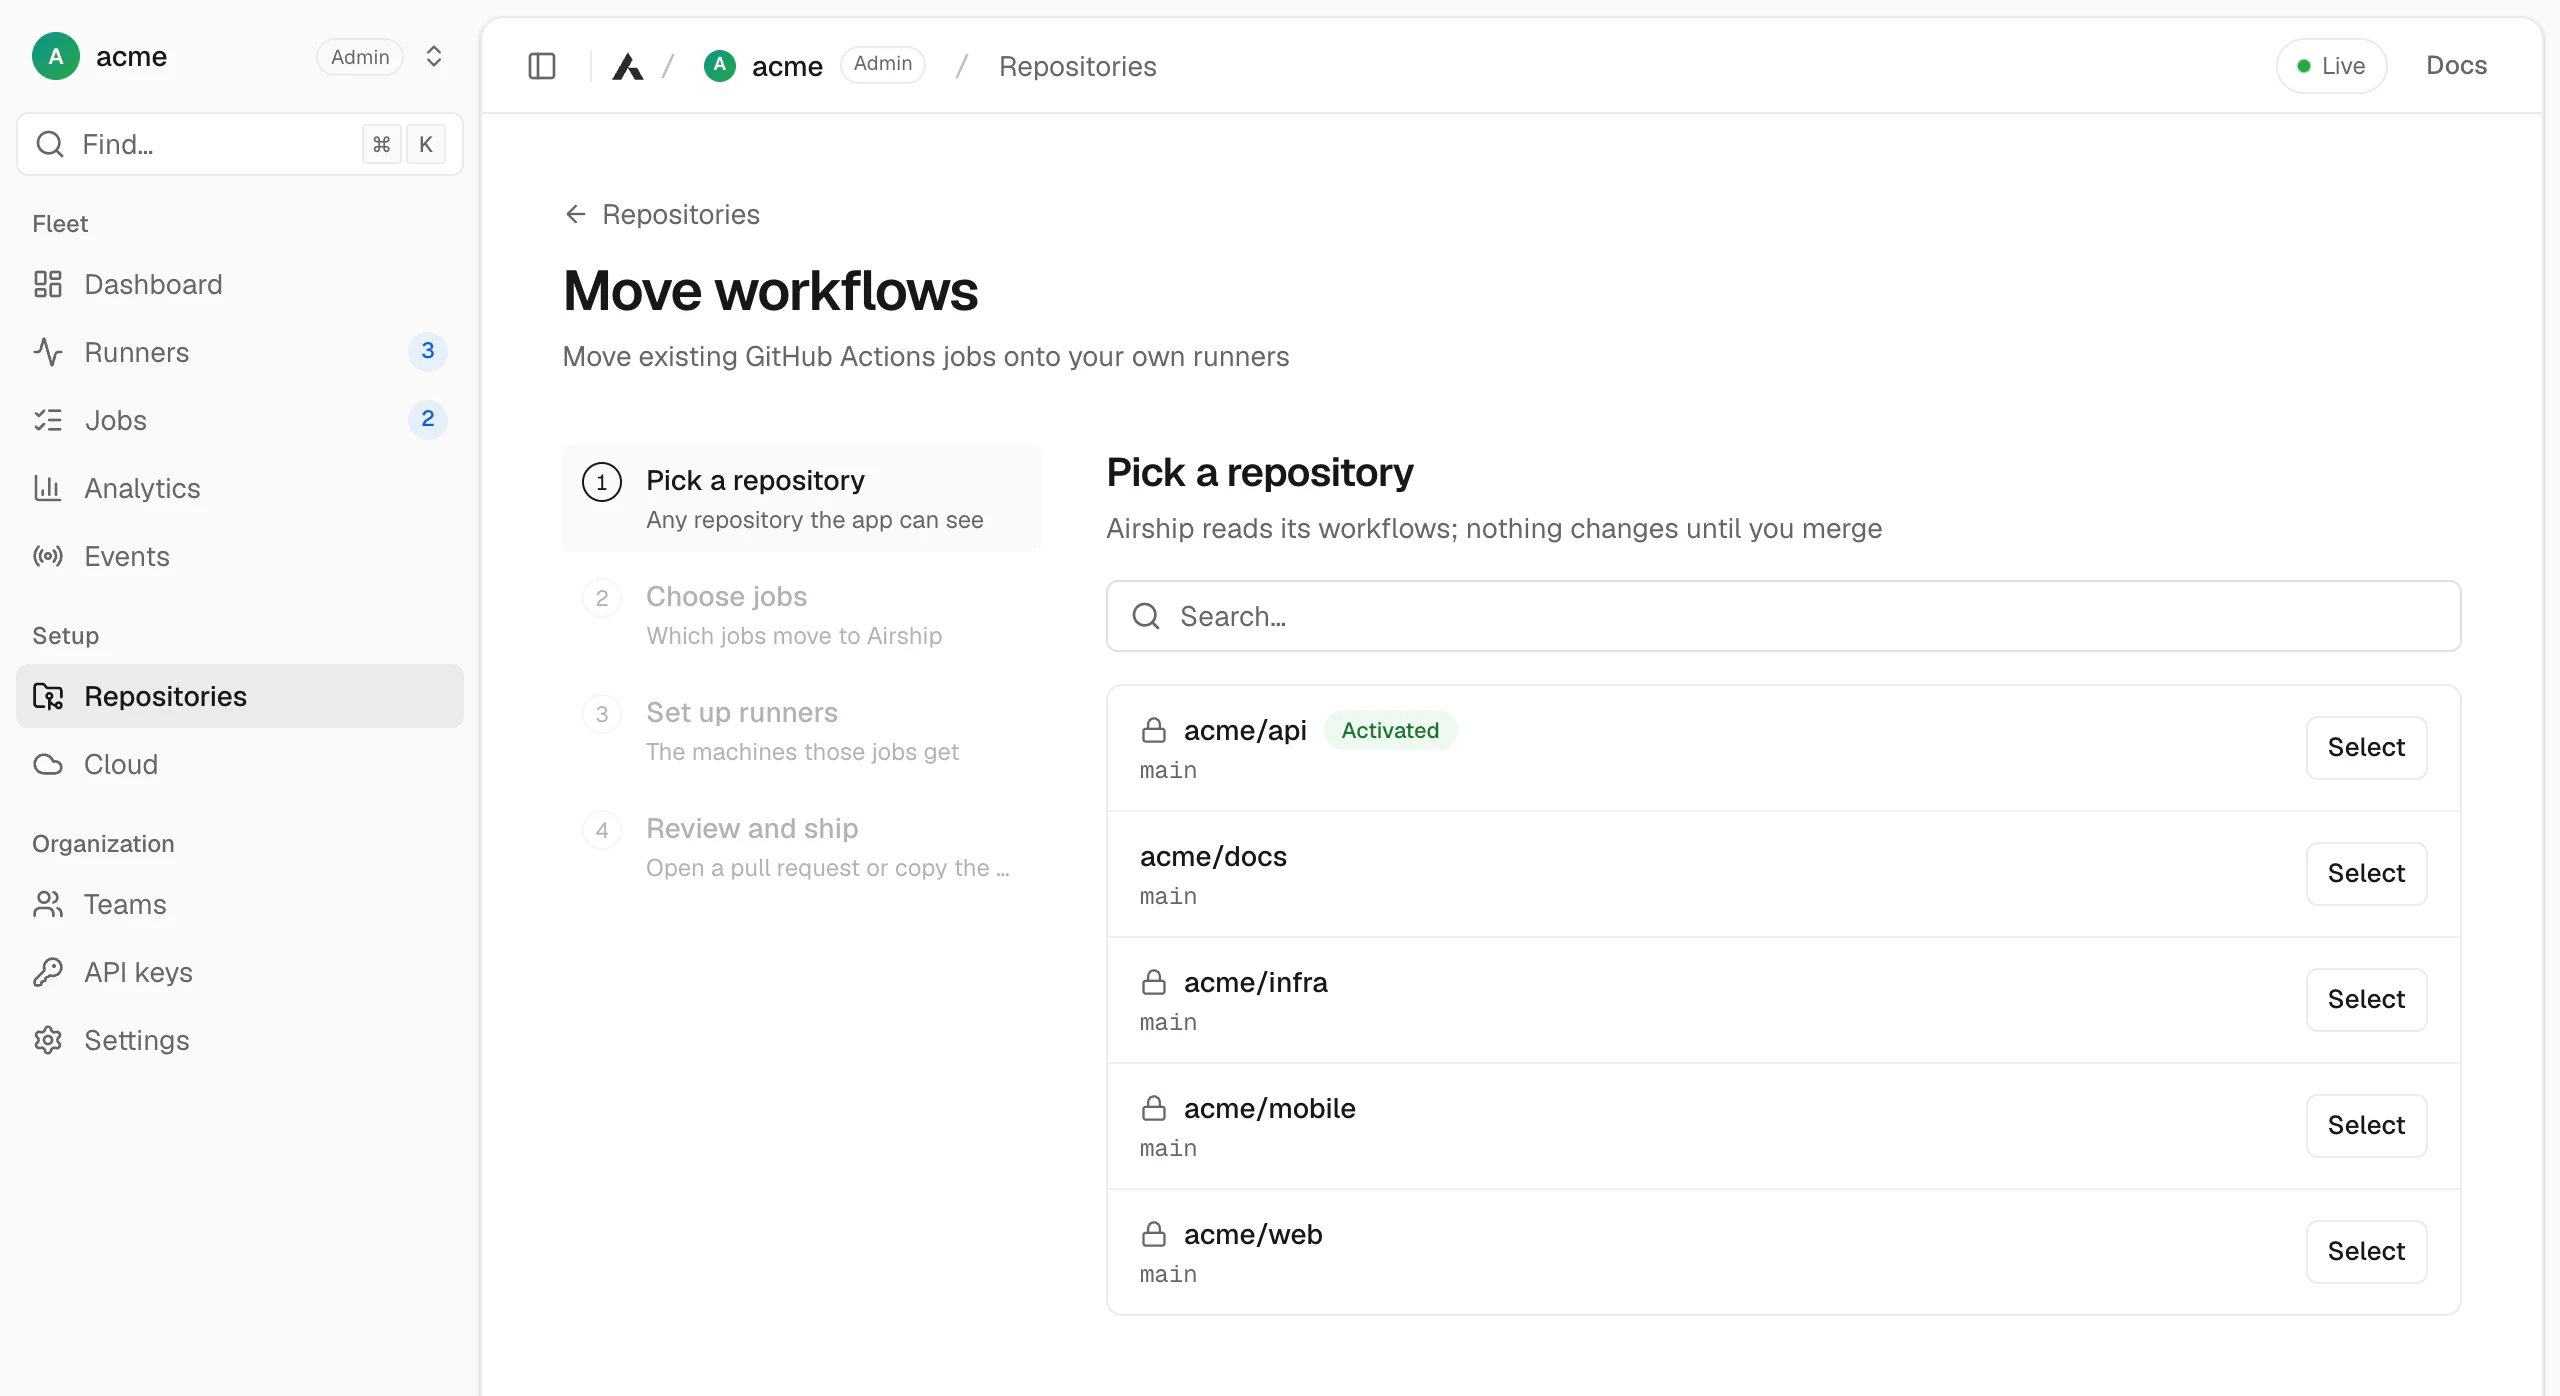
2
Choose jobs
Every job in every workflow on the default branch, with its 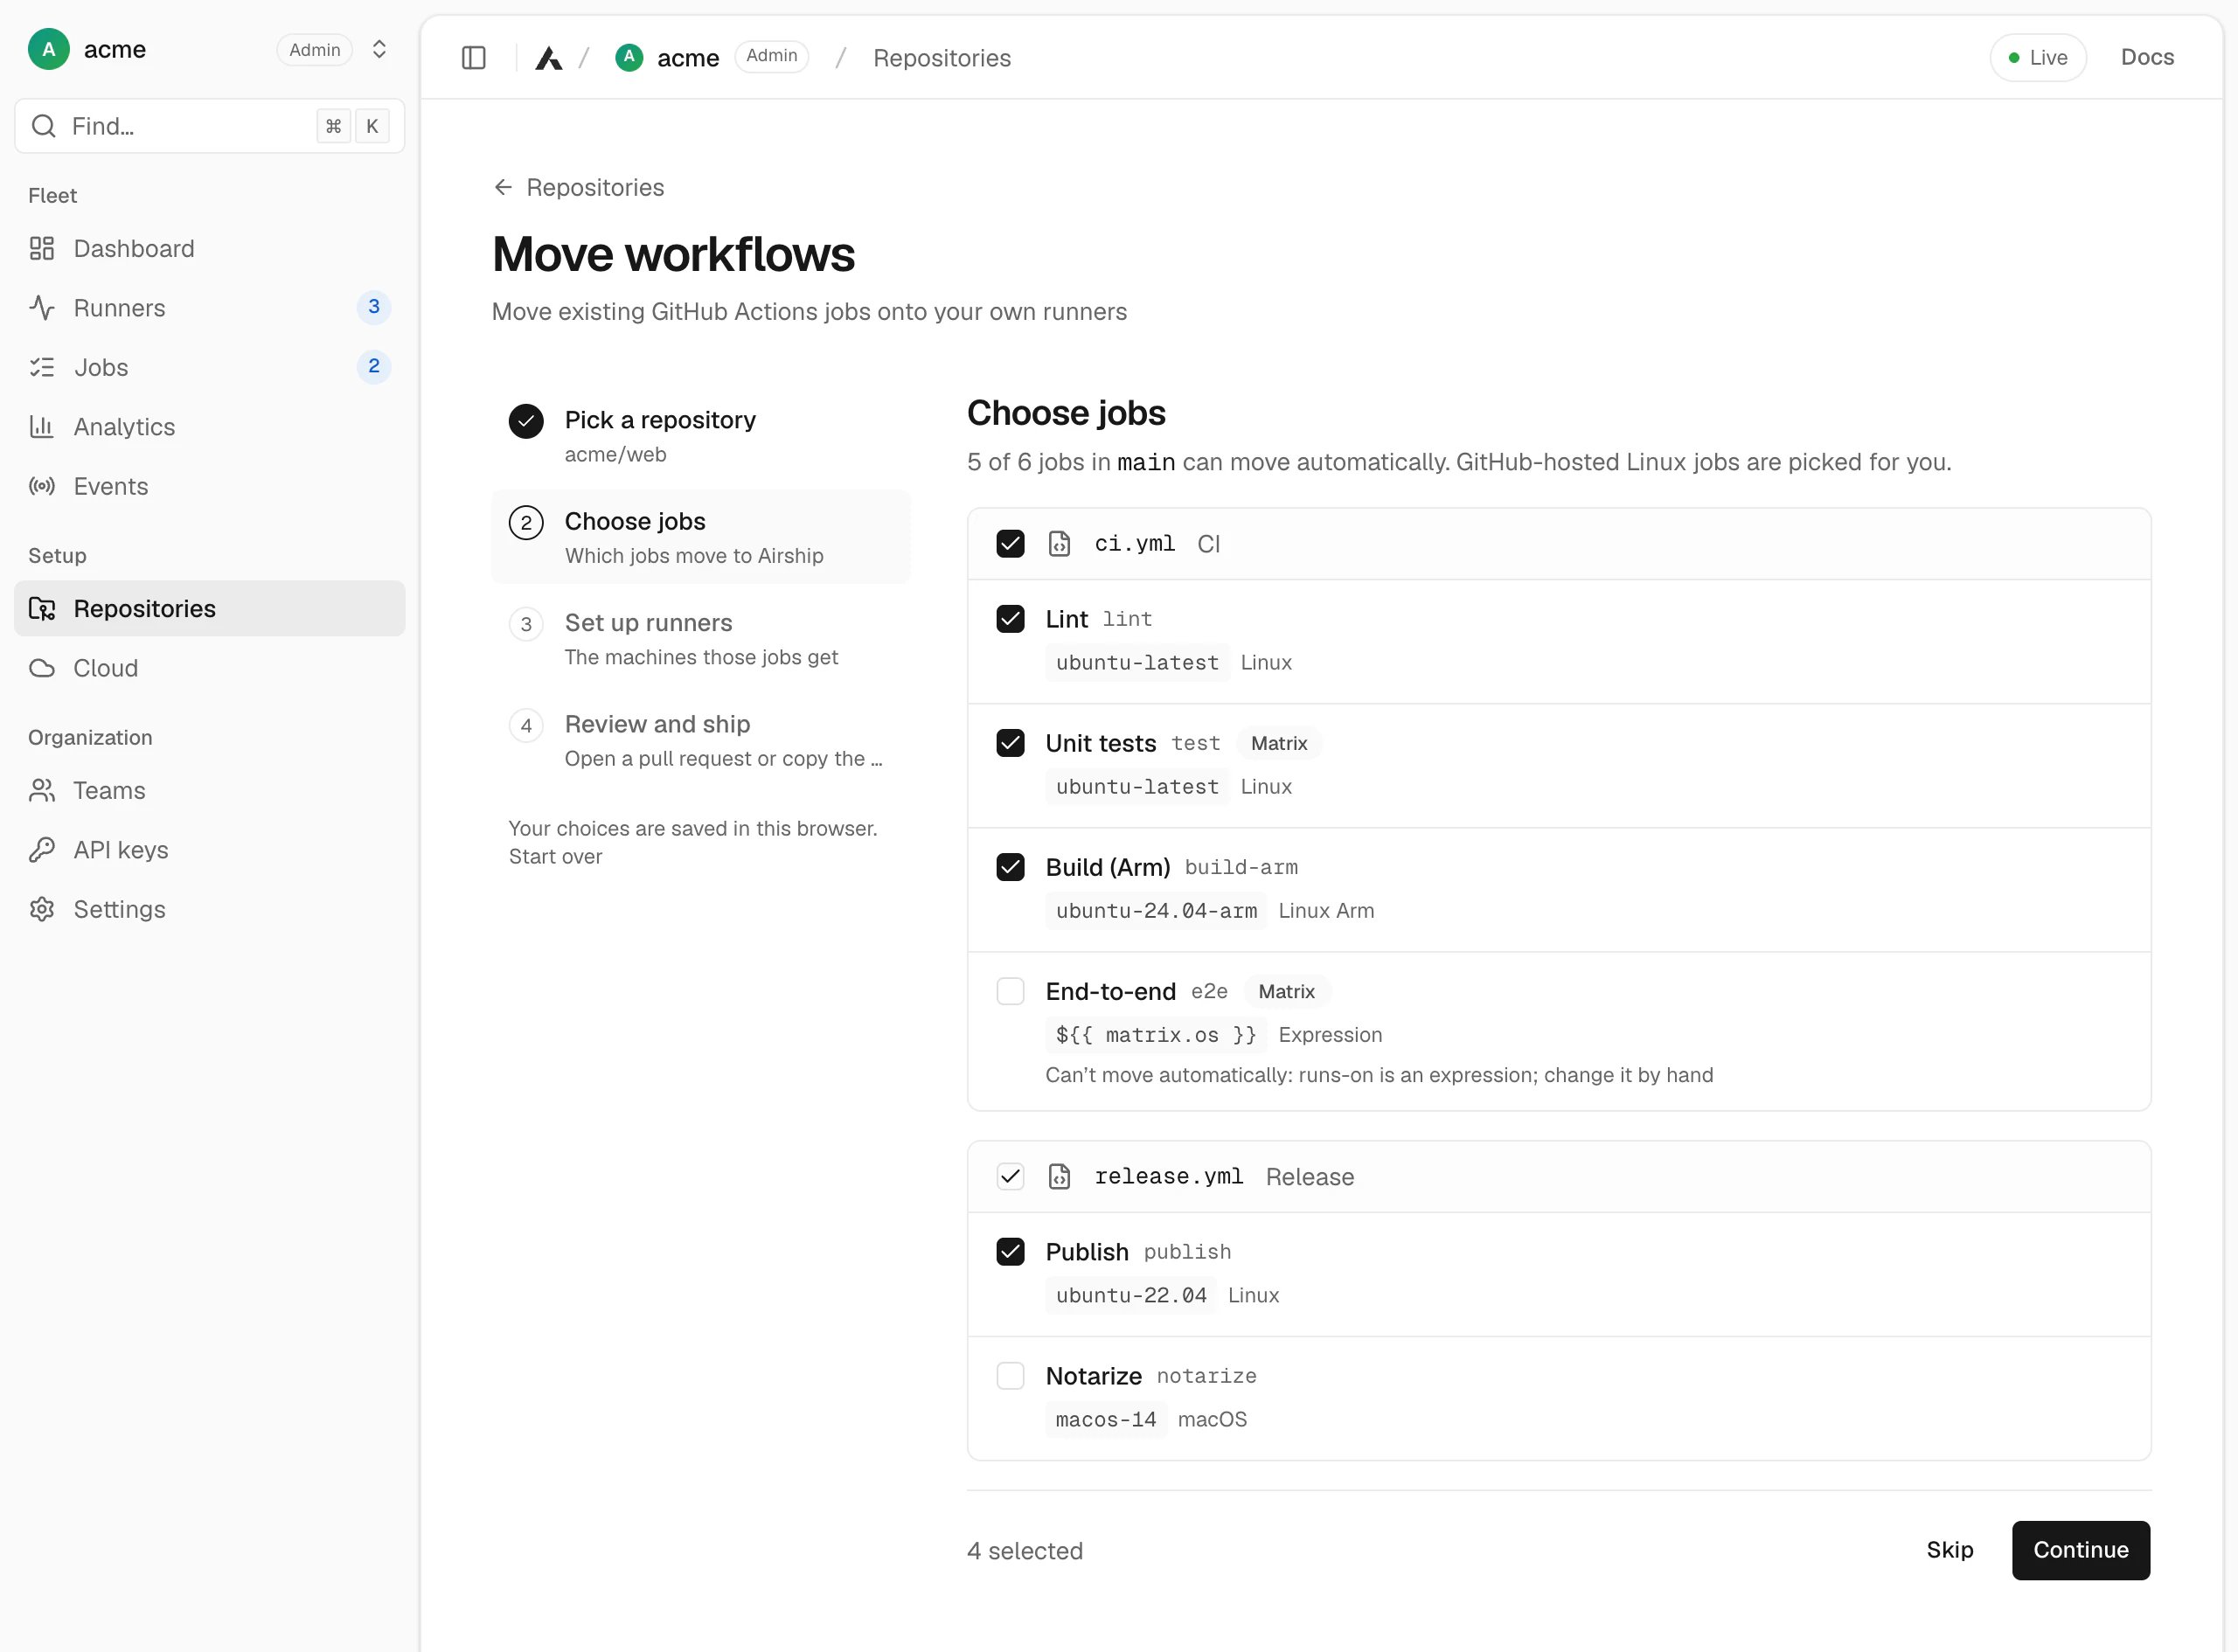
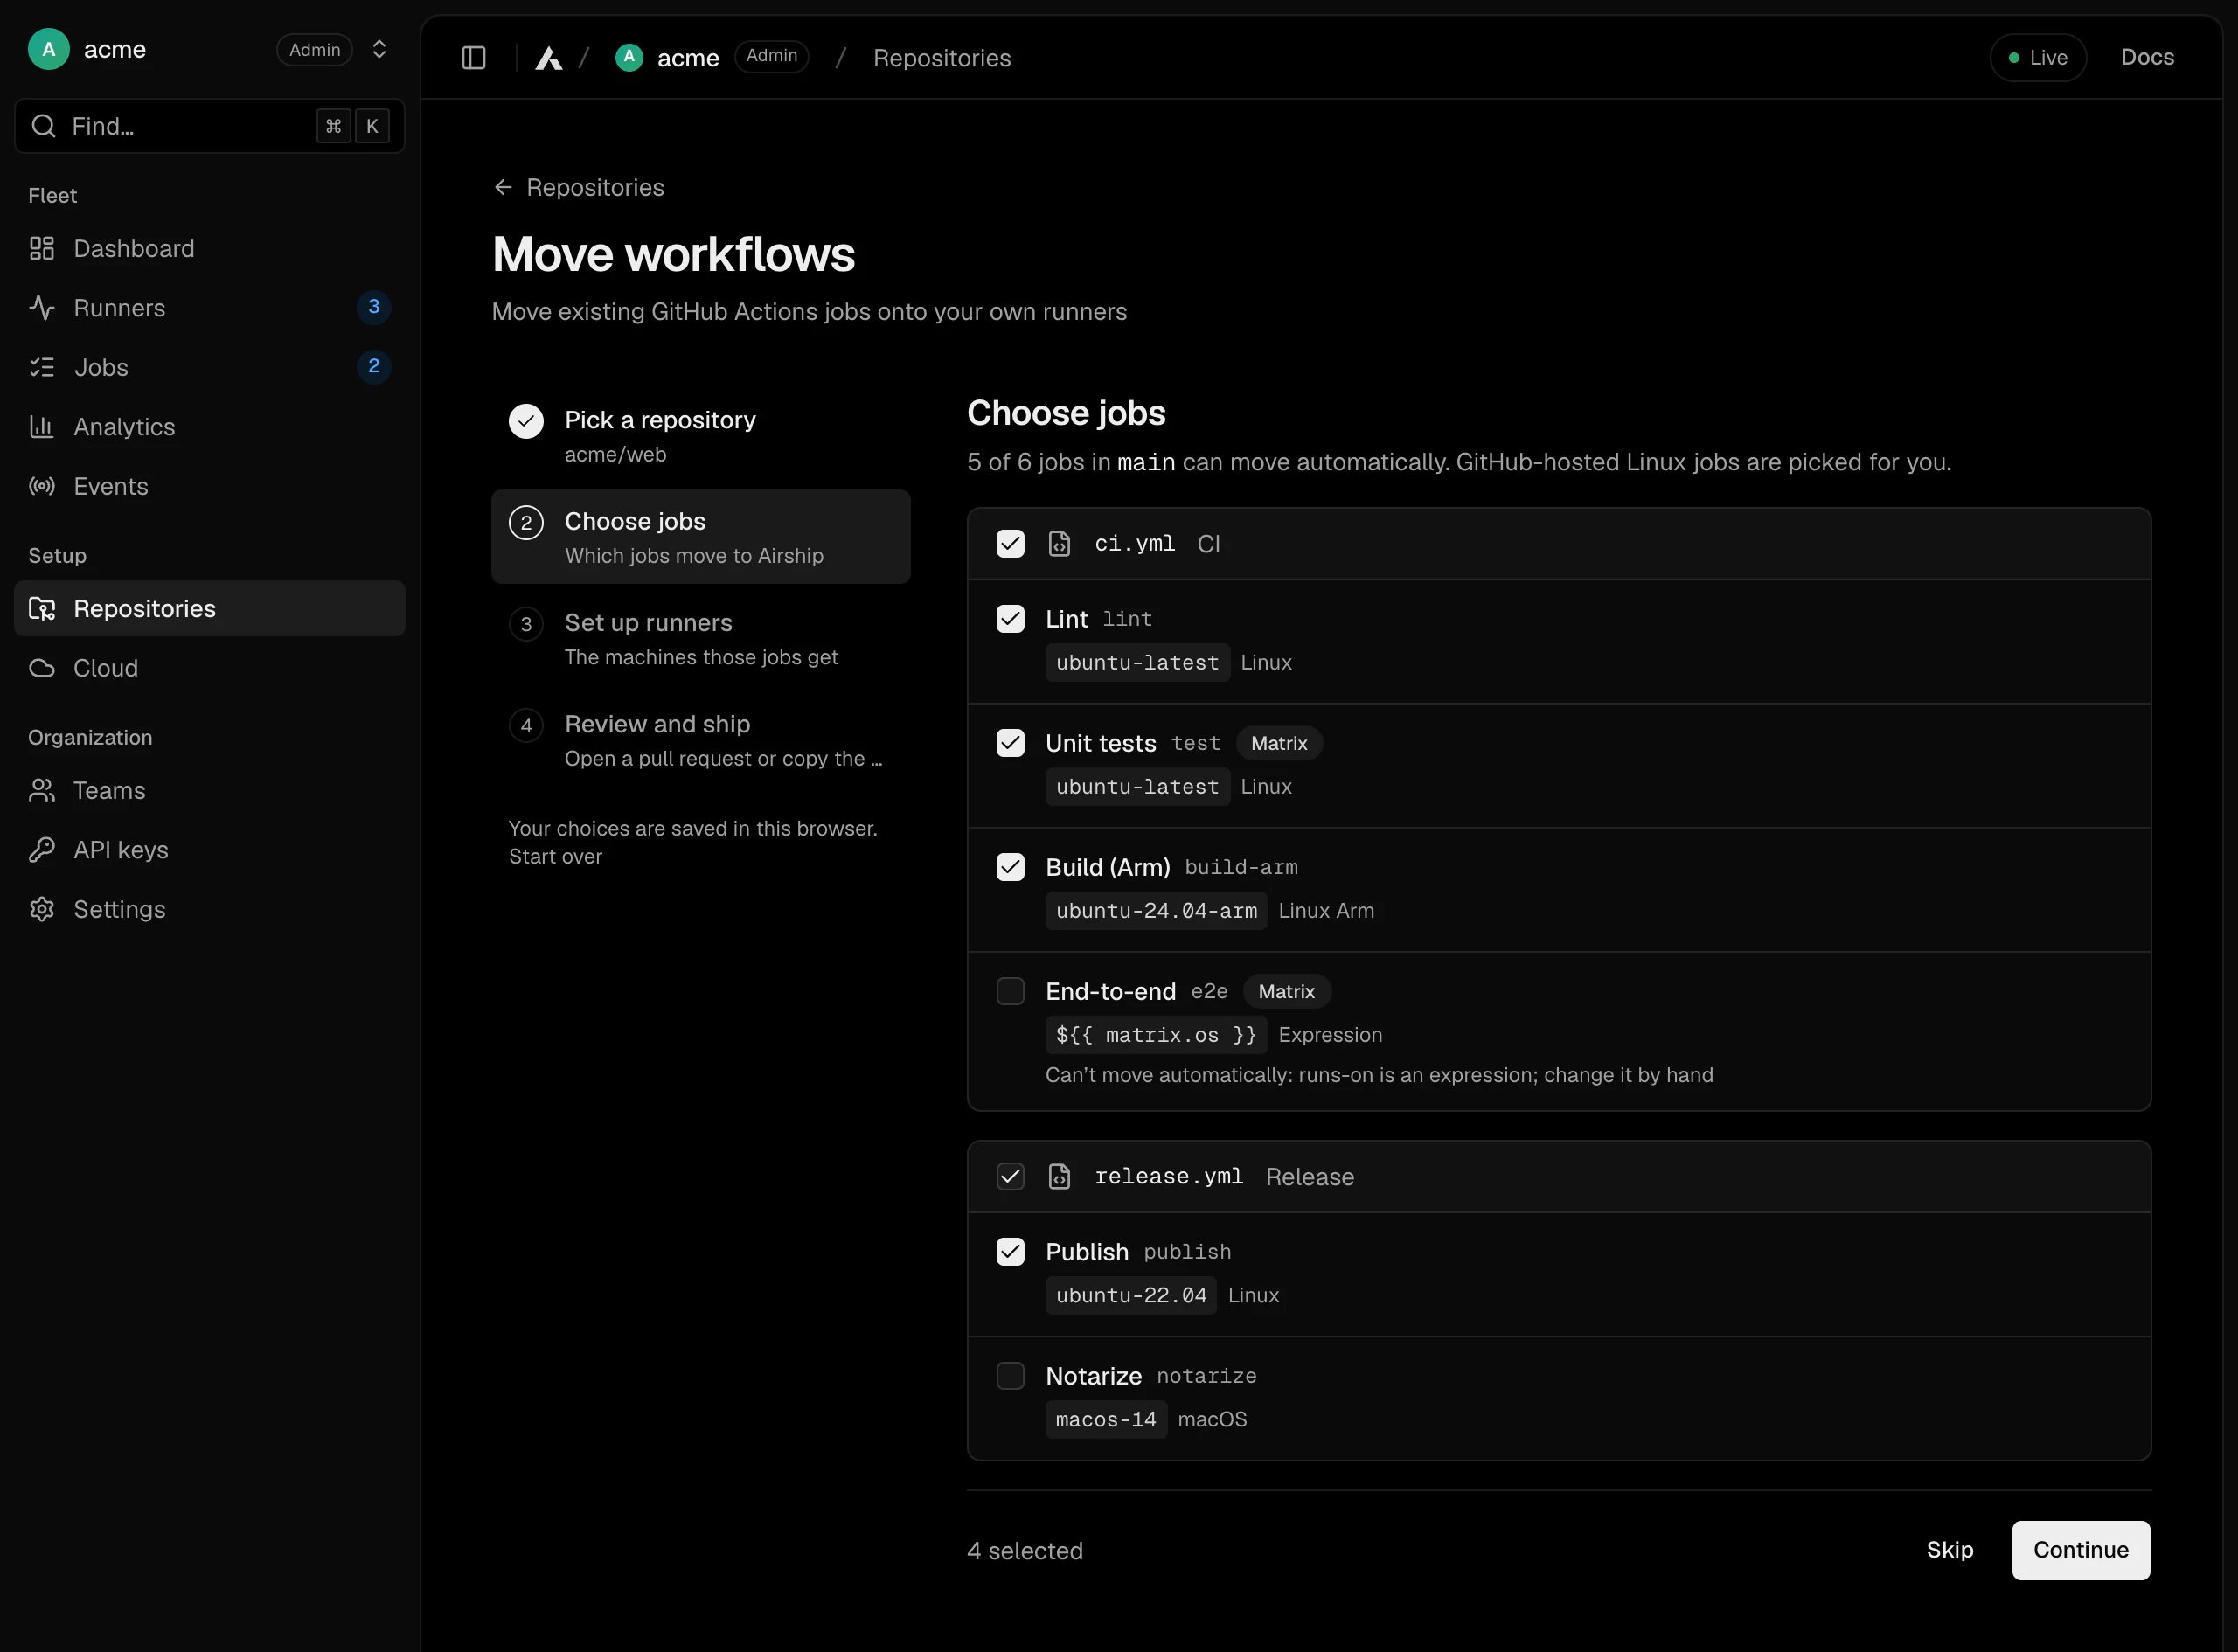
runs-on as
written today. Jobs on GitHub-hosted Linux runners are picked for you;
tick or untick anything else.Some jobs cannot be moved automatically, and say why: a runs-on computed
by an expression such as ${{ matrix.os }}, a runner group, or a call to
a reusable workflow. Change those by hand.3
Set up runners
One runner is suggested for each kind of machine the jobs need — Linux,
Linux on Arm, an older Ubuntu — sized at four vCPUs like GitHub’s
standard runner, on the cloud you connected. Change the name, cloud,
machine, image, region or spot capacity, add more runners, and choose
which runner each job uses.Each runner becomes a definition in 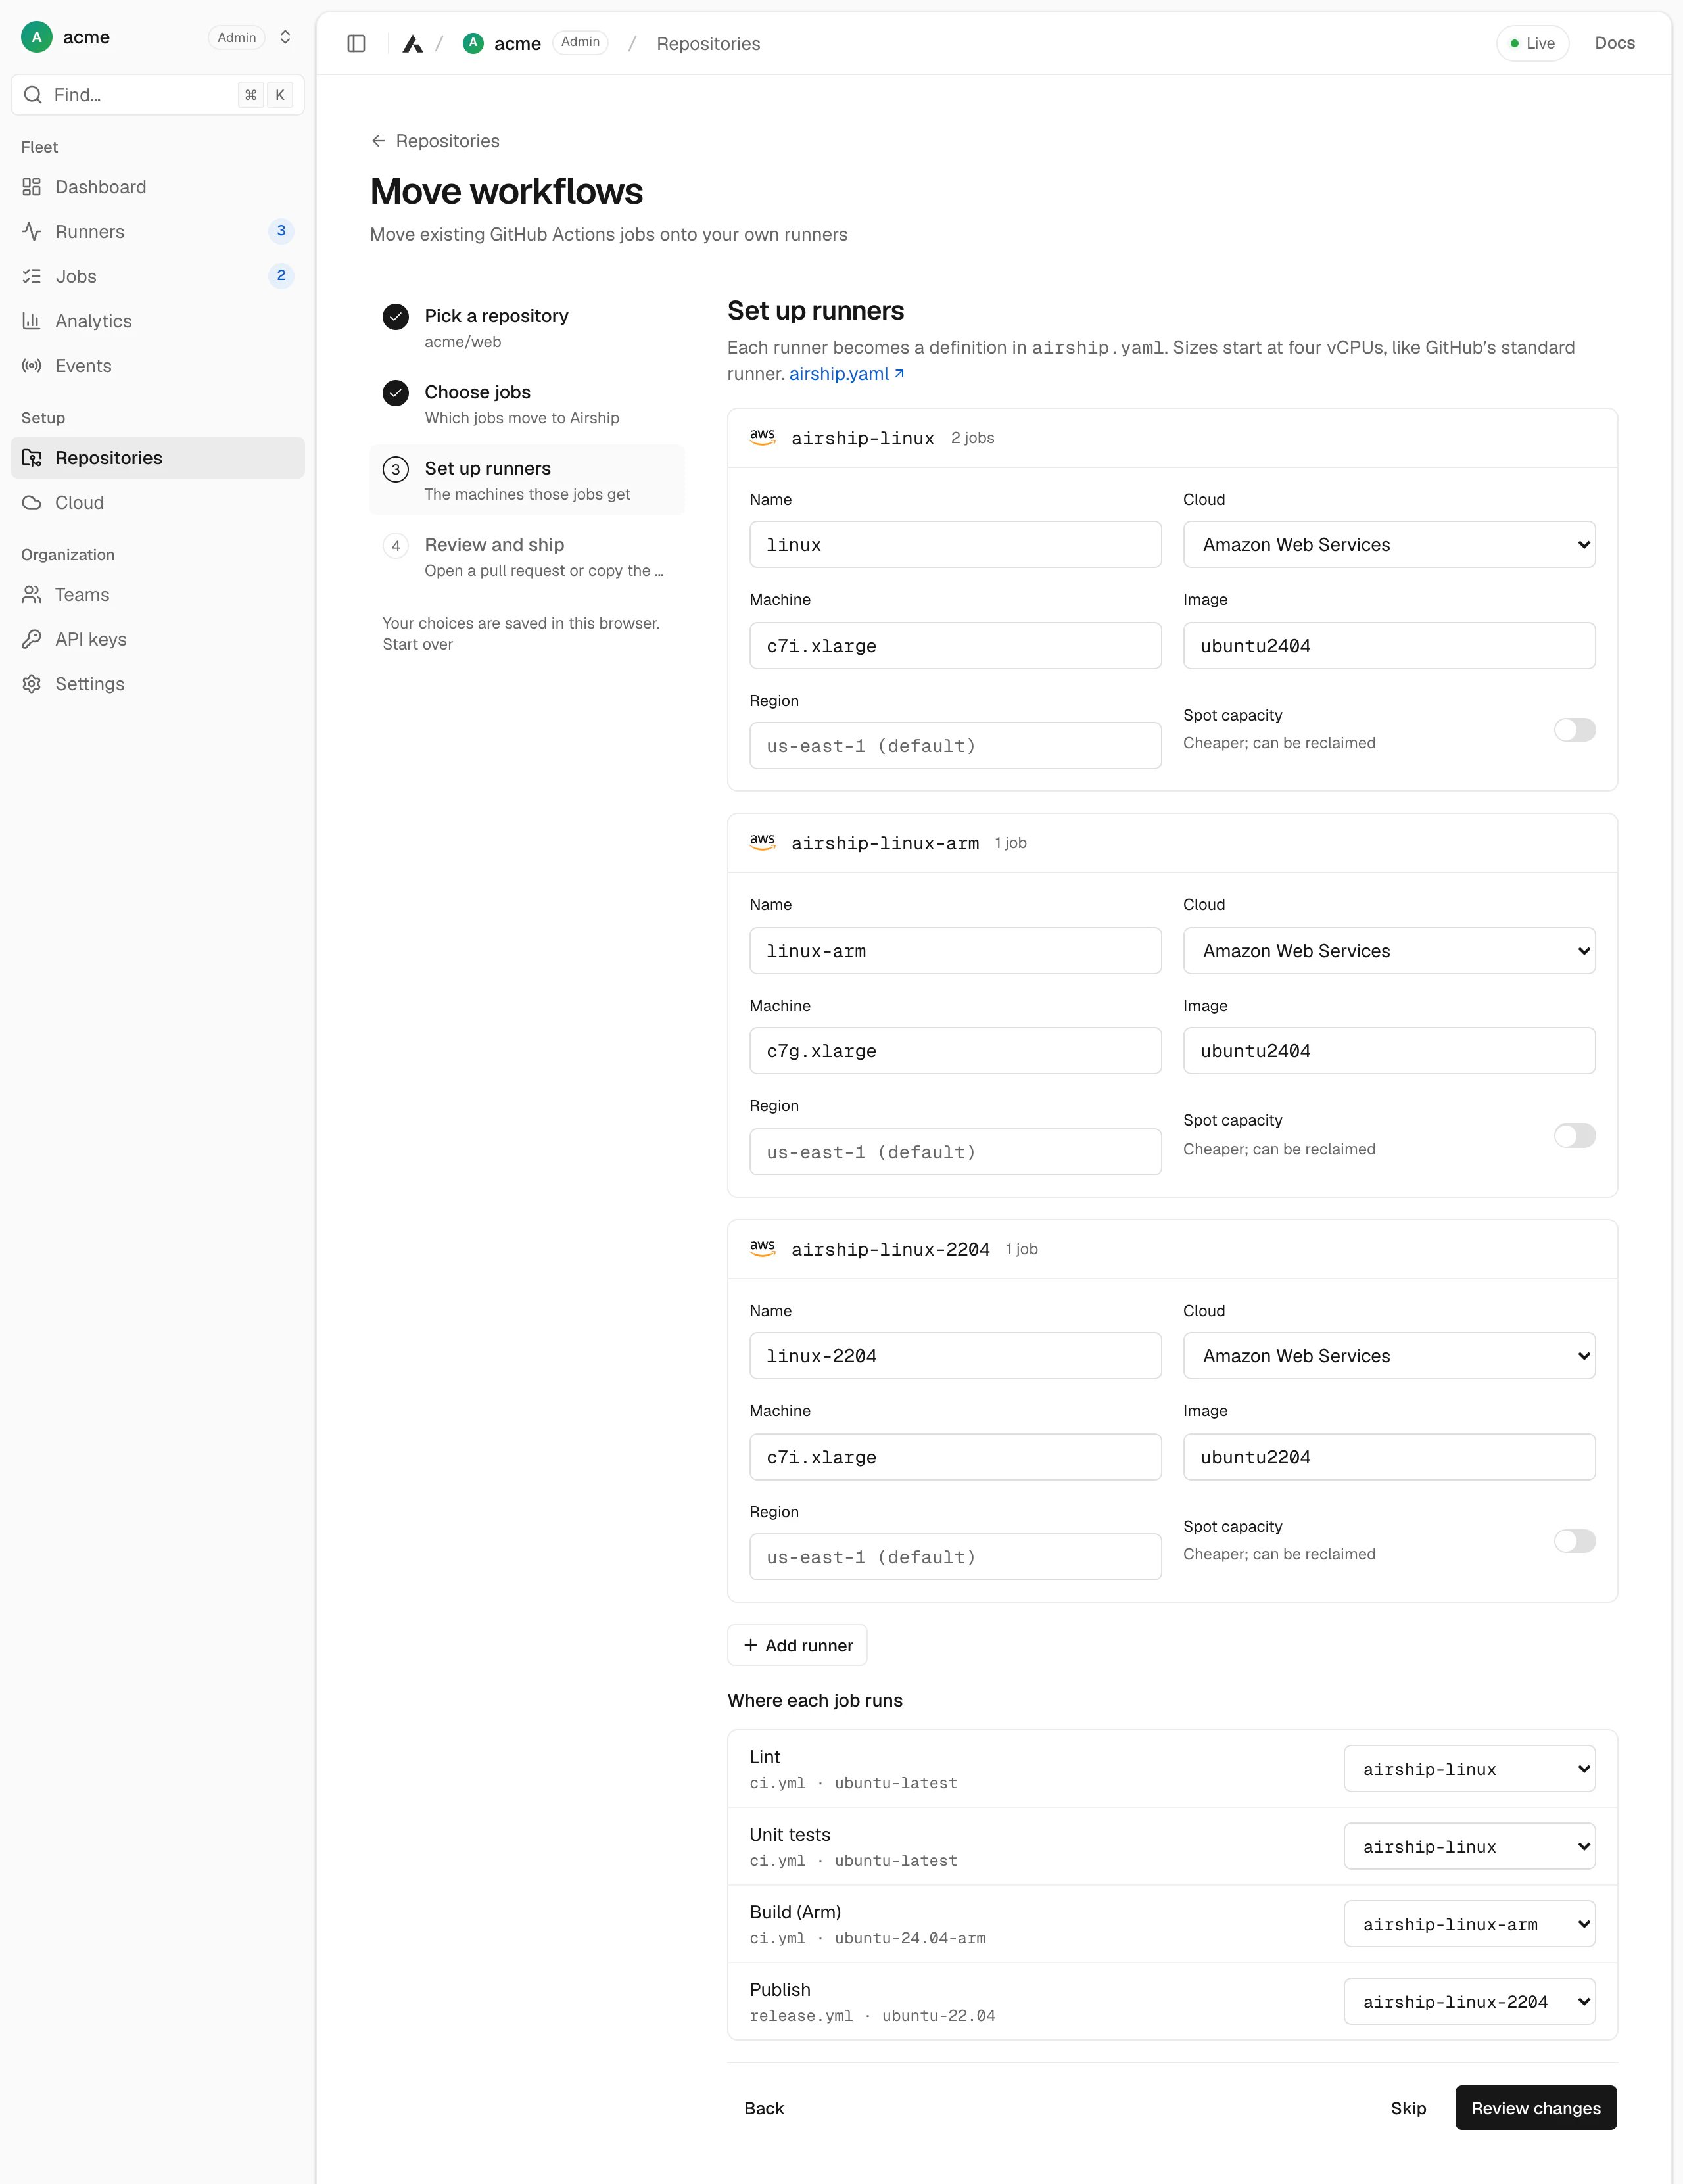
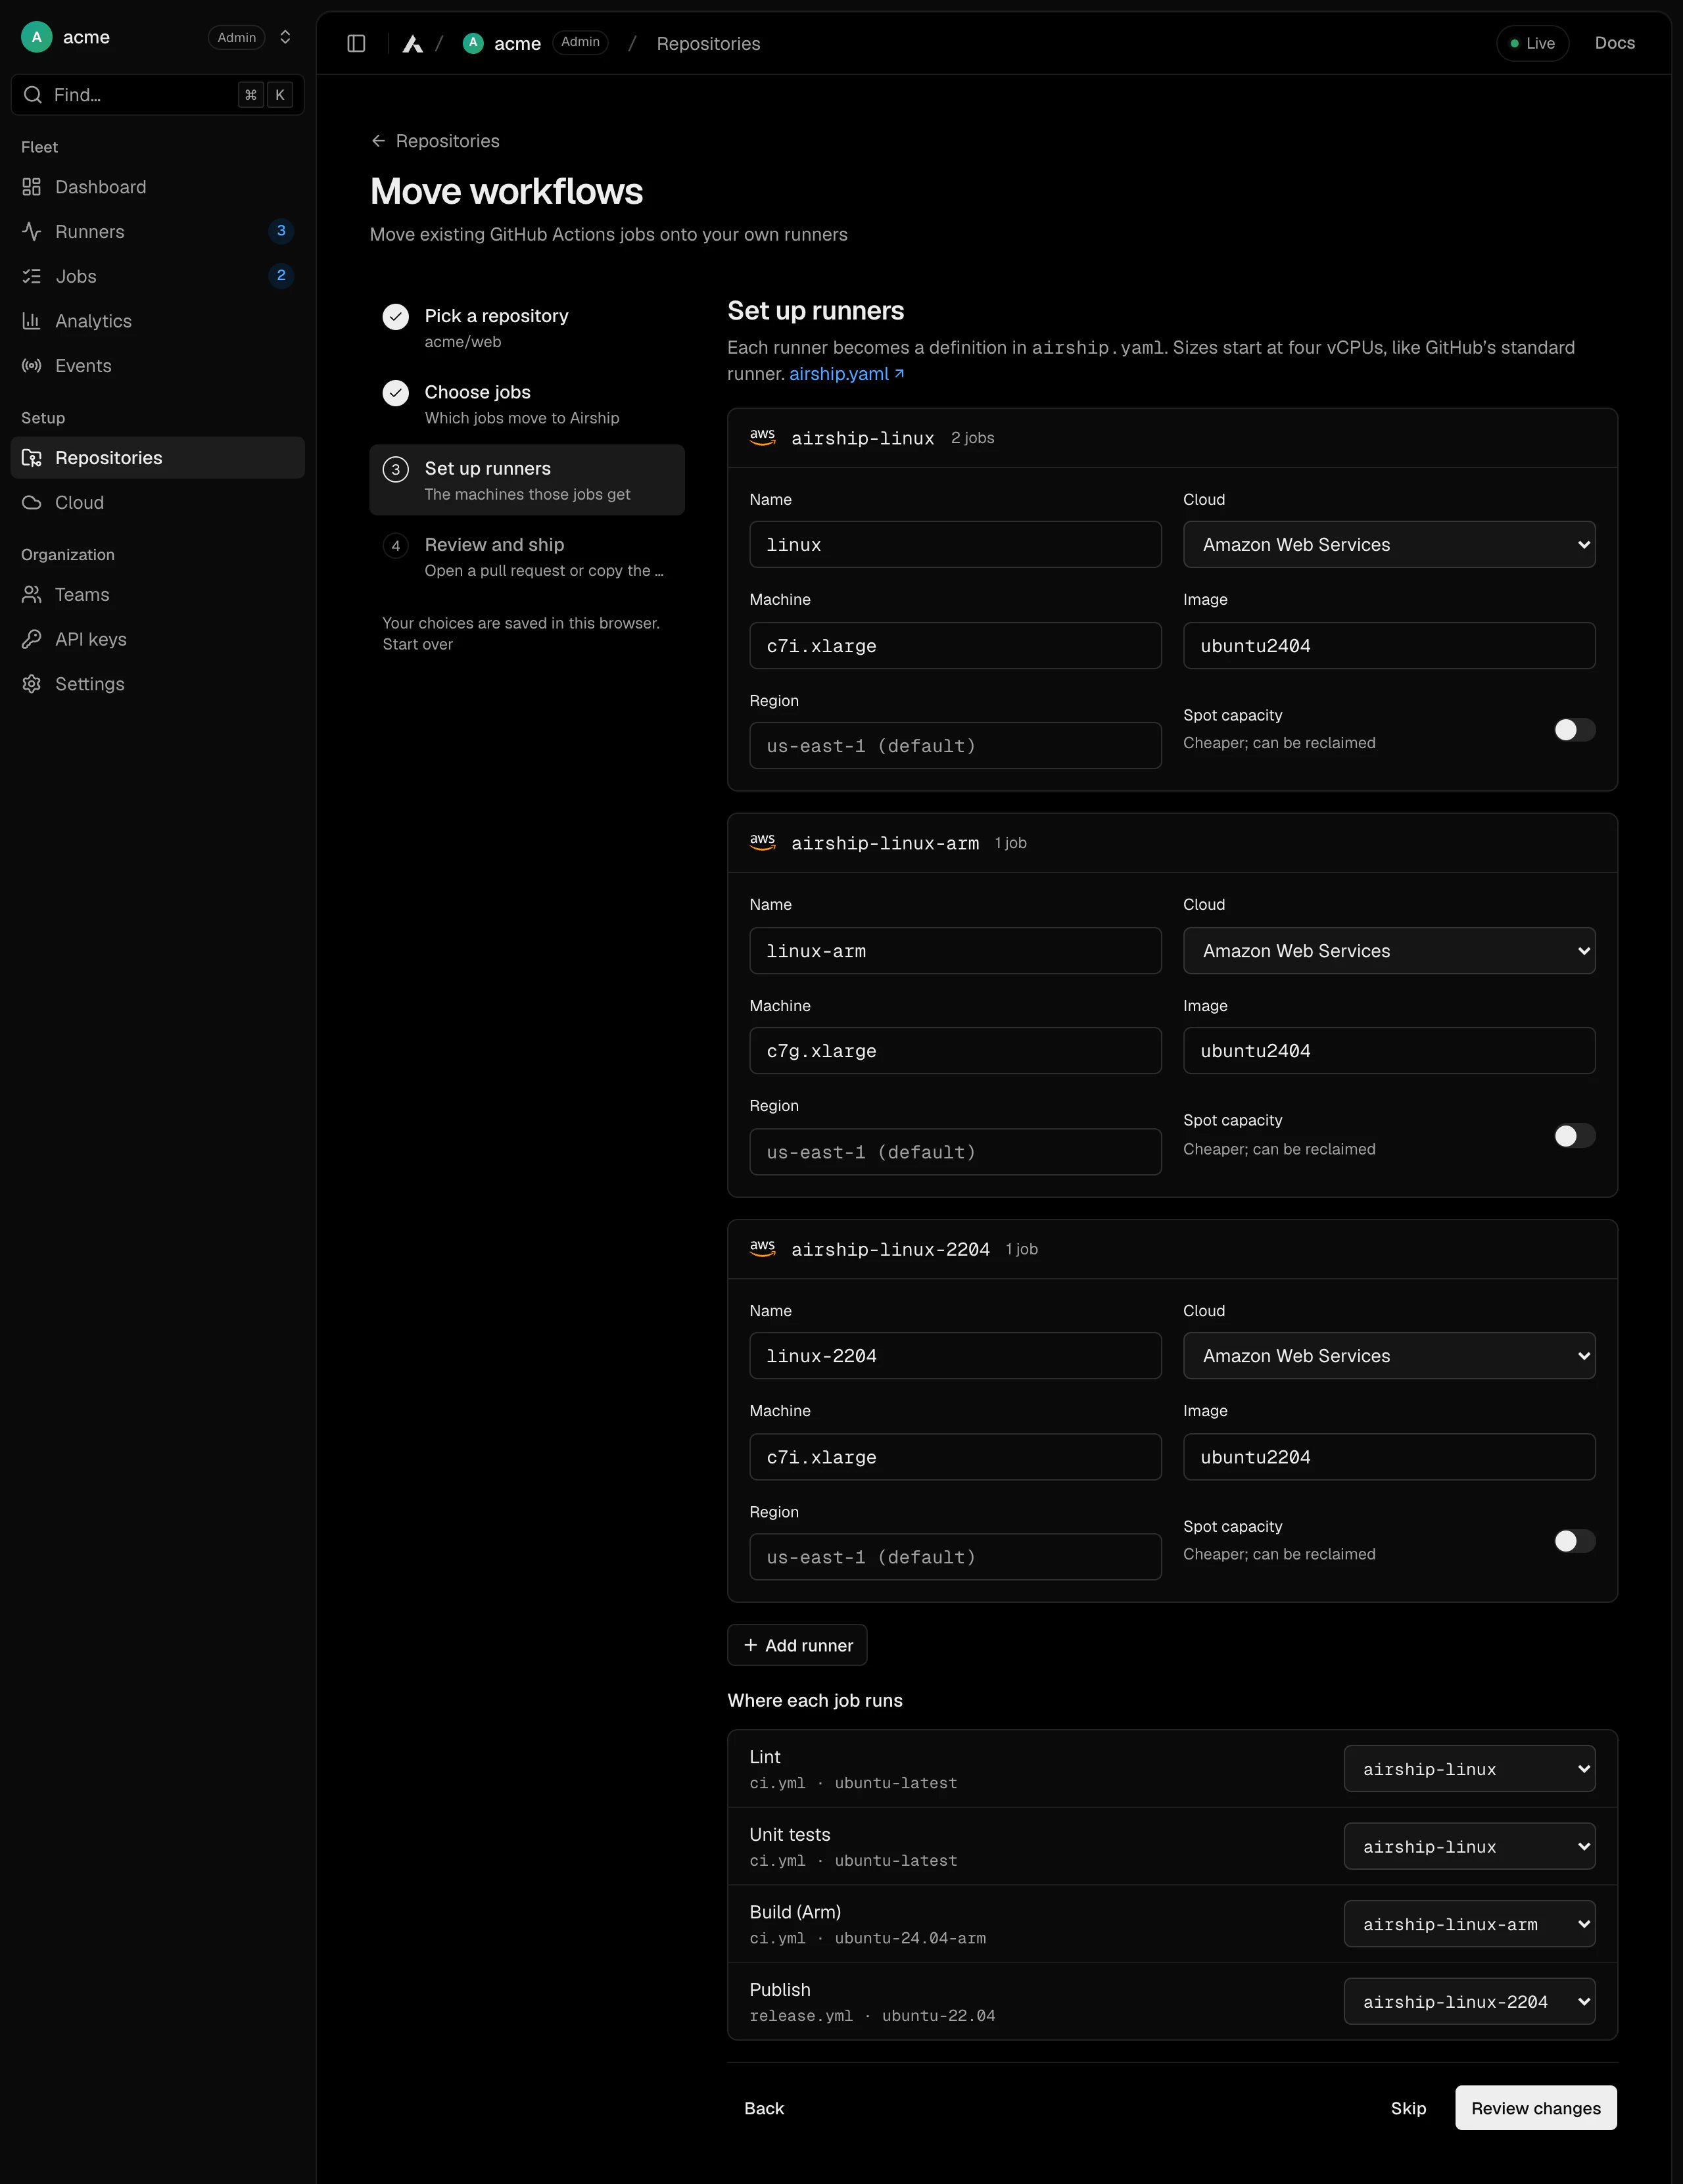
airship.yaml,
serving the label airship-<name>.4
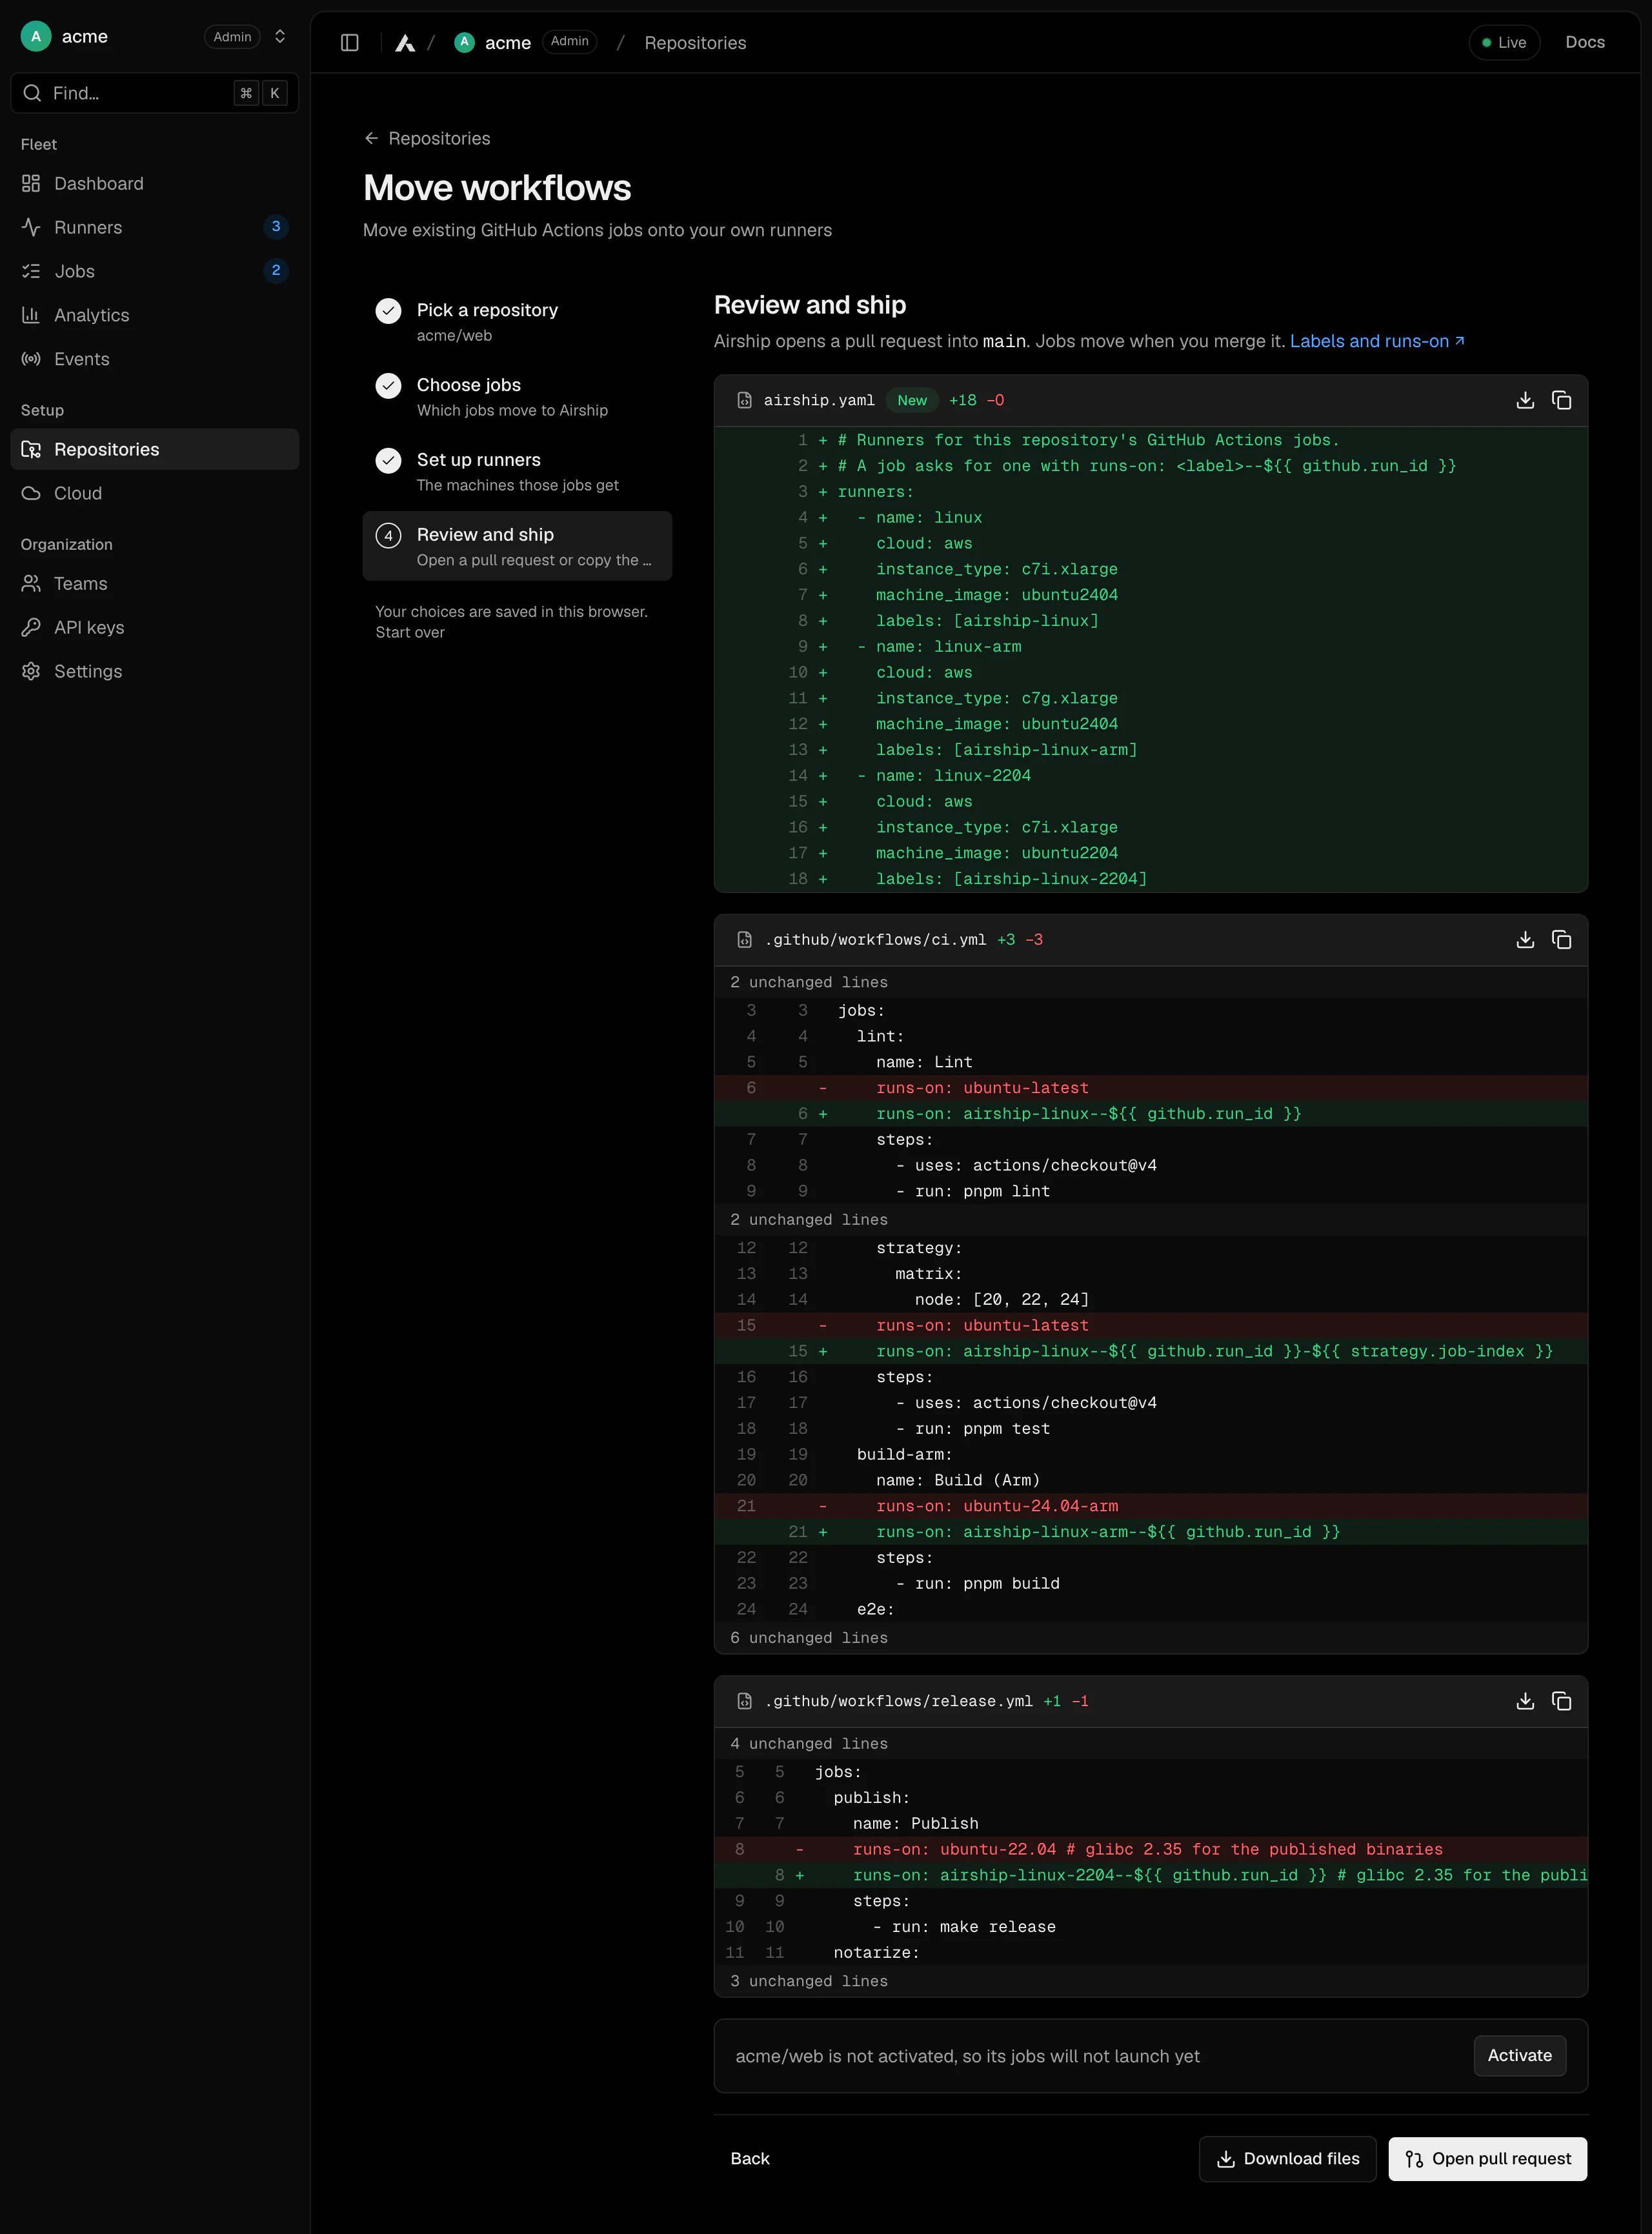
Review and ship
A diff of every file the change writes, checked the same way a job would
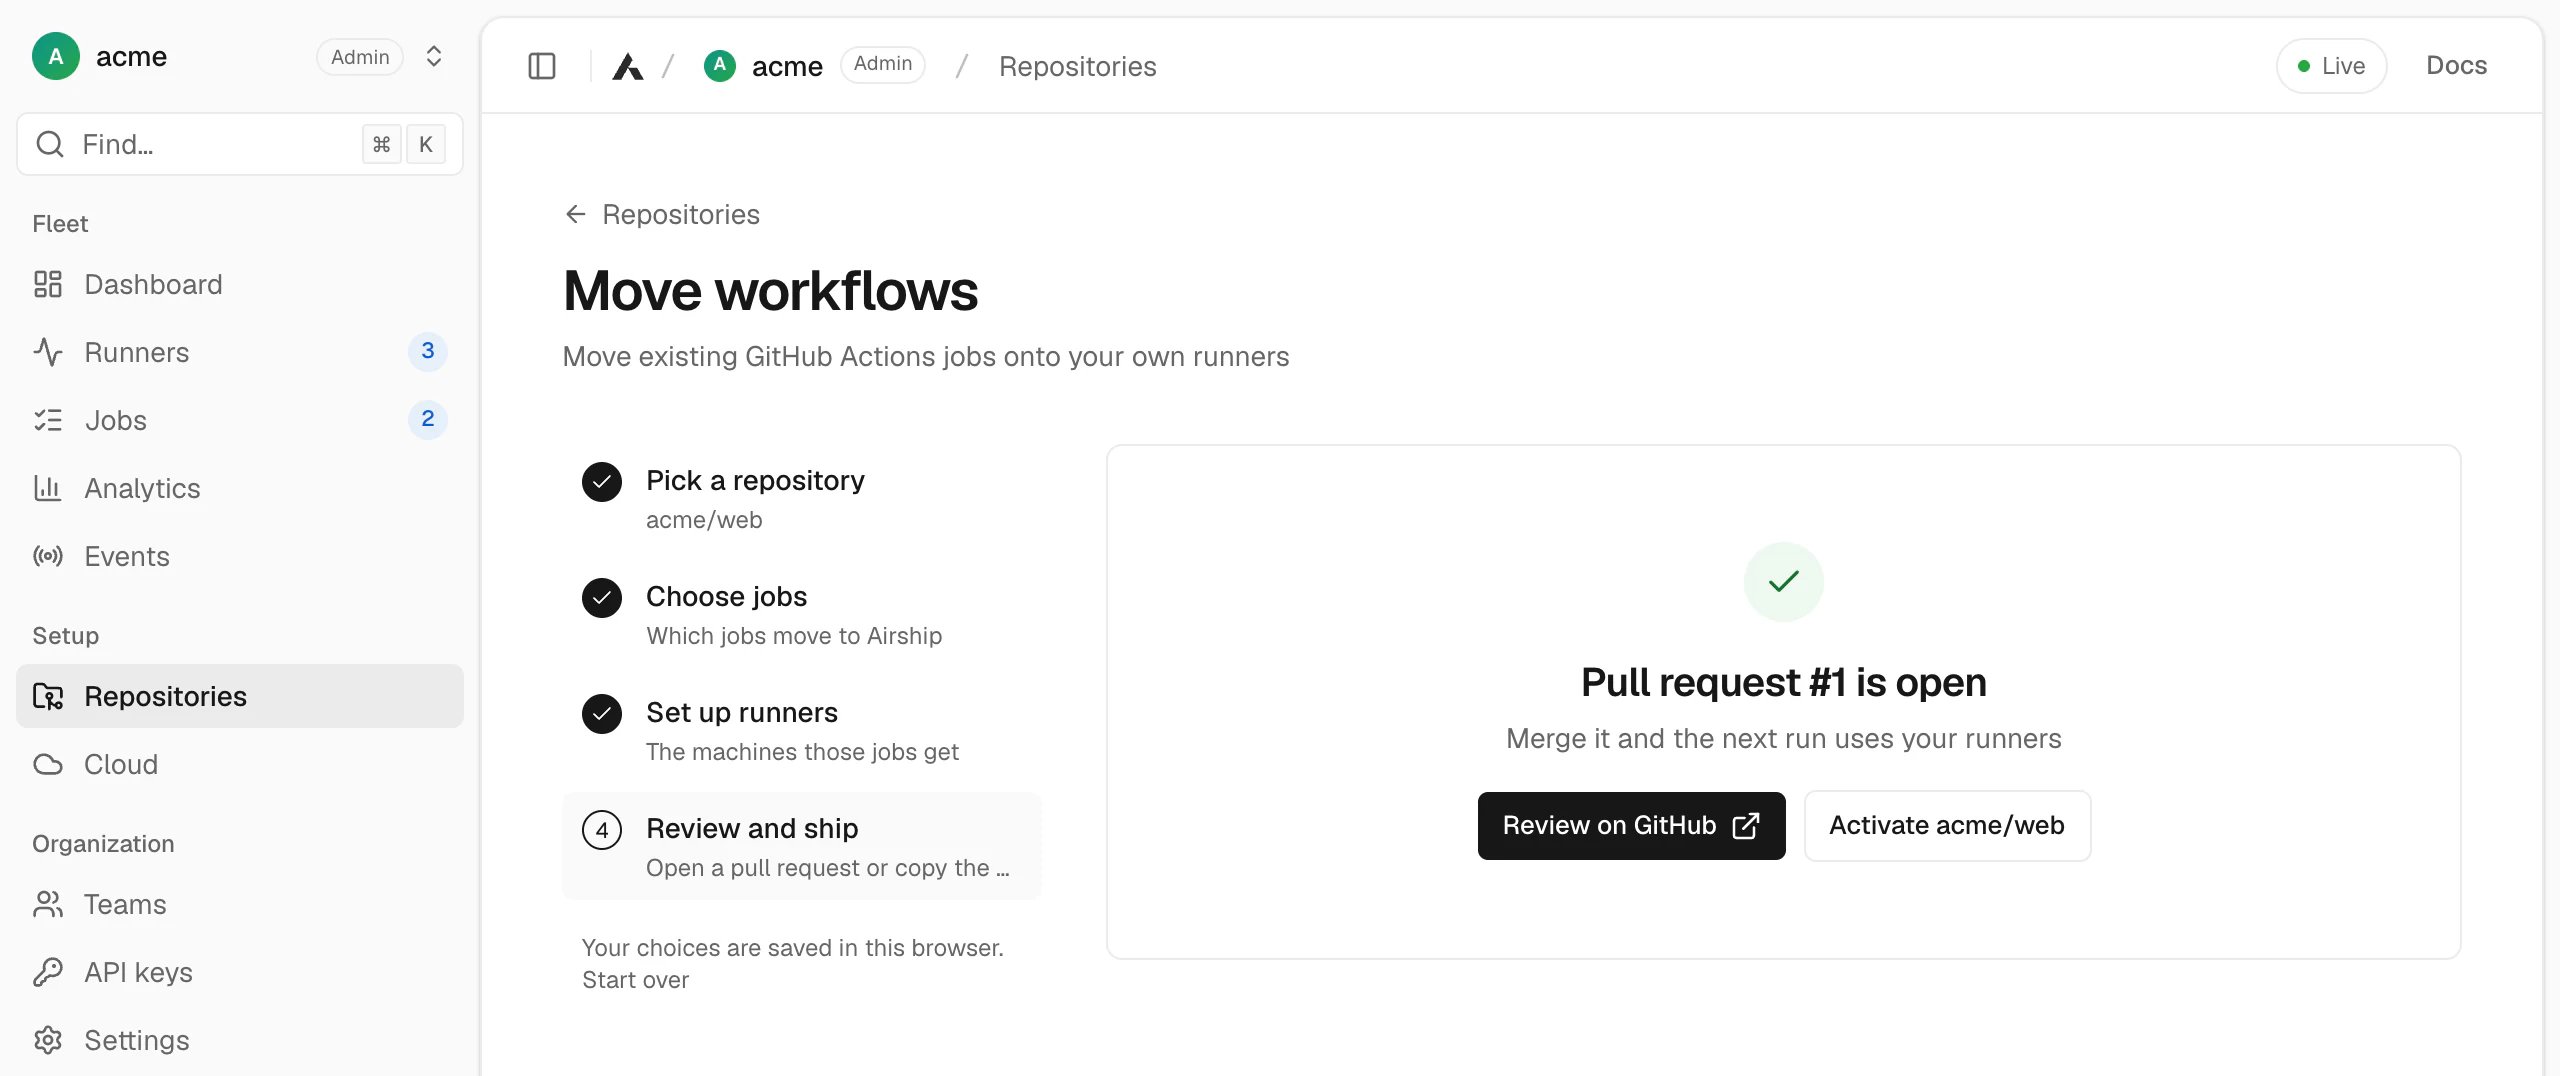
read it. Open a pull request into the default branch, or copy or download
the files and commit them yourself. If the repository is not activated
yet, activate it here too.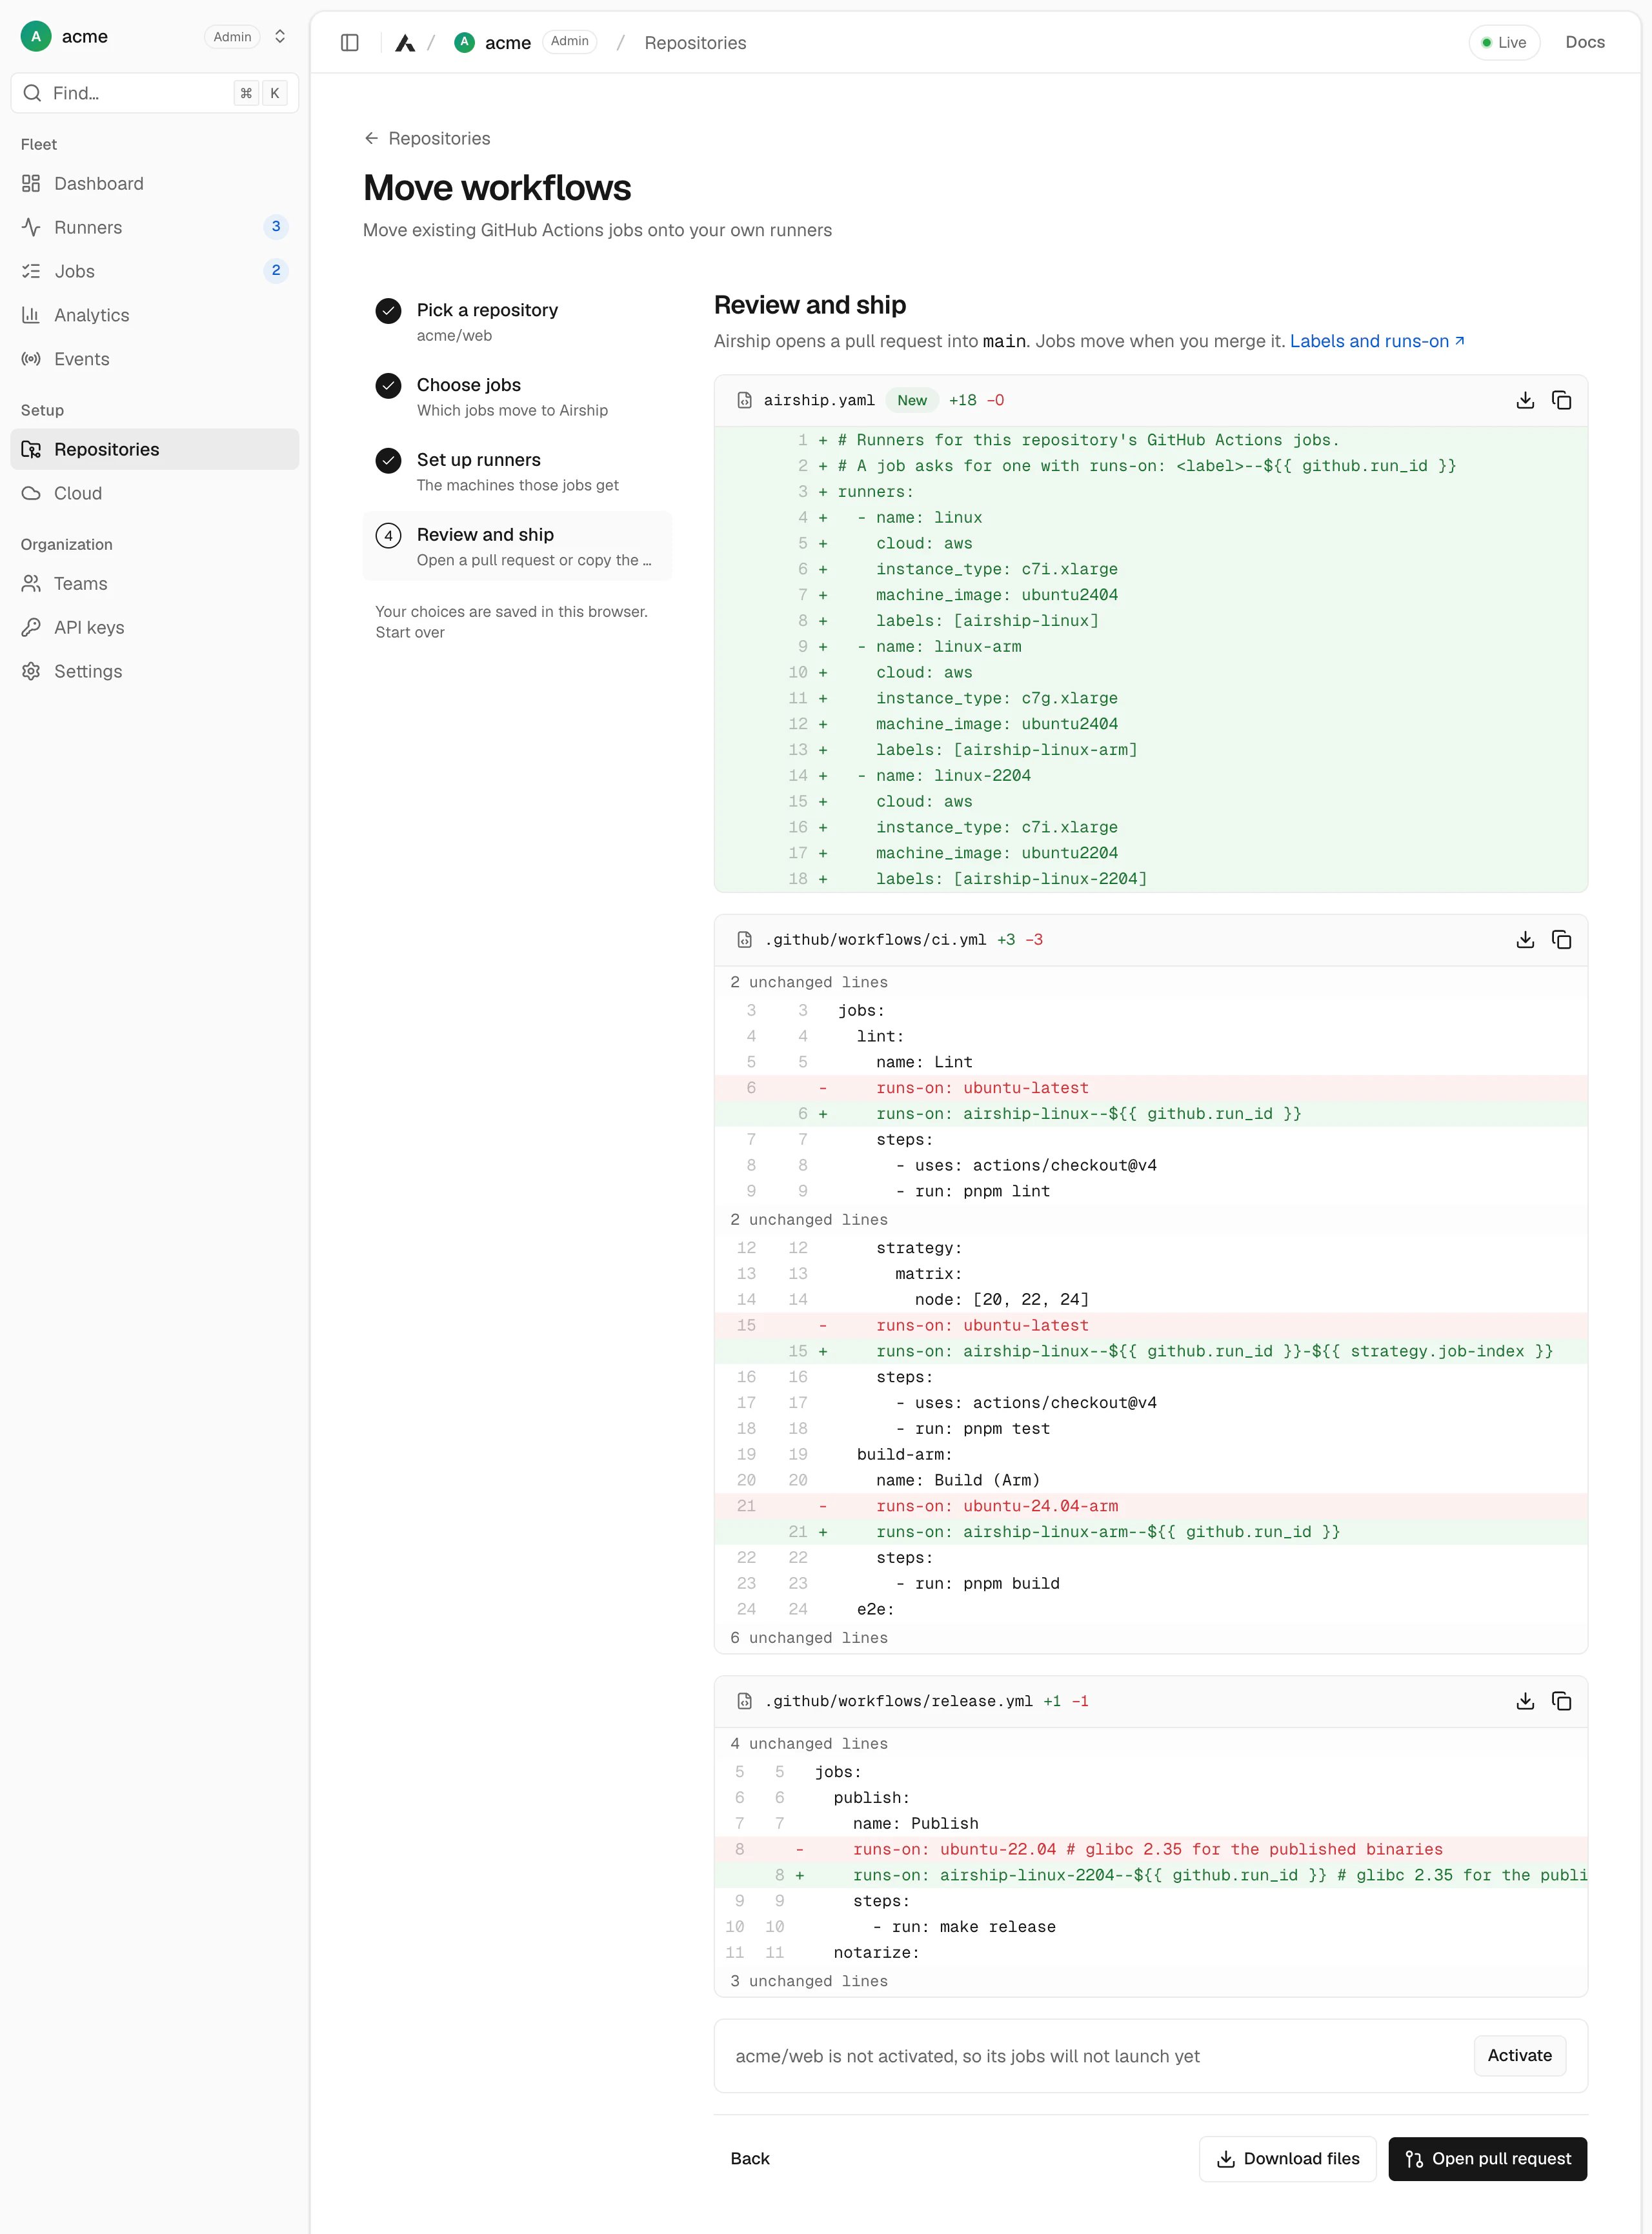
What changes
-
airship.yamlgains a definition for each new runner. If the repository already has one, the definitions are added to the end of itsrunners:list and the rest of the file is left as it is. -
Each moved job’s
runs-onbecomes its runner’s label with the run ID as a suffix, and for a matrix job the leg’s index too, so every leg gets a machine of its own:Only that value changes. Comments, quoting and everything else in the file stay exactly as they were.
airship.yaml or the organization’s
shared runners already serve.
Windows and macOS jobs
They are not picked by default. A Windows job needs a runner with a Windows image (Windows runners), and there are no macOS images; the runner step warns about both before anything is written.Opening the pull request
The GitHub App opens the pull request only if it has Contents, Pull requests and Workflows write access; GitHub refuses an app’s changes under.github/workflows without the last one. Without them the dashboard says
which to grant, and you can still download the files and commit them
yourself. See the GitHub App’s permissions.